Label Creator > Shipping Labels section allows you to print your labels and update your marketplaces.
Summary
Want to Print your first Label? Here's an article that helps you step by step:
1. How the Dashboard works
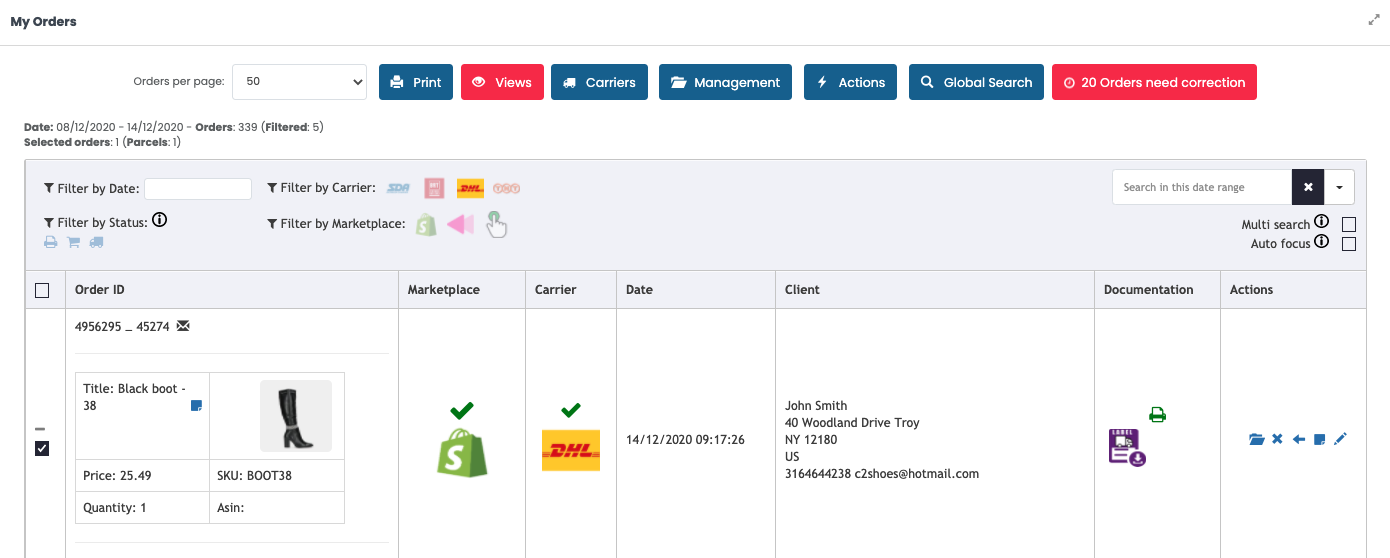
ShippyPro allows you to manage your Shipping Labels directly from Shipping Labels section Dashboard.
📌Note: you first need to ship the order from Label Creator > To Ship to be able to print the relative shipping label.
Learn how to easily do it here:
Let's see how all the different columns work! 🔎
Order ID
In the first column, you'll find order details (eg. Order ID, Date, Client, Total Price etc)
If you'd like to see some additional info, click on this sign ➕on the left:
-Apr-15-2024-09-07-31-9615-AM.gif)
If your carrier supports live rates (eg. UPS, FedEx, DHL, TNT), you'll be able to View Detailed Pricing:
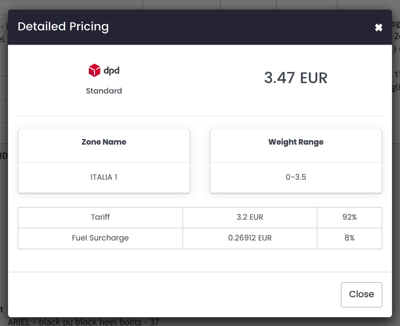
Discover here how to add your Carrier's Rates:
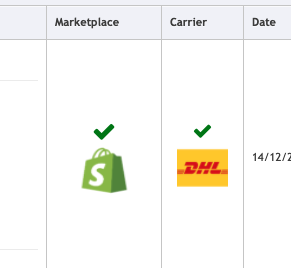
Marketplace and Carrier
Once the shipment has been created, ShippyPro automatically marks your orders as shipped on the sales channels, each one with its tracking number.
In a few minutes, you'll see the sandglass icon ⌛️ turning into a green tick ✅. This means that both your Marketplace and the Carrier are updated.
If not, it means that the update of your Sales Channels and Carriers is set as manual.
📌You can choose how to update them when you first connect your Carriers and when you first connect your Sales Channels.
Tracking
The Tracking Number can be found under the Tracking column.
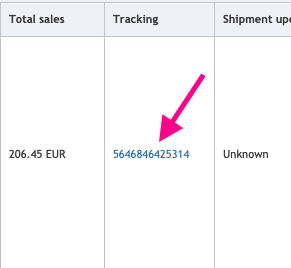
You can click on it to consult Tracking History with shipment updates transmitted directly by the carrier.
📌Please note that since shipment updates are directly retrieved from carriers, it won't be possible to translate them.
-1.gif?width=400&height=295&name=ezgif_com-video-to-gif+(21)-1.gif)
Click on the Tracking Number again to be redirected to the Carrier External Tracking Page.
Shipment Update
Under this column, you'll find the most recent shipment update sent by the carrier.
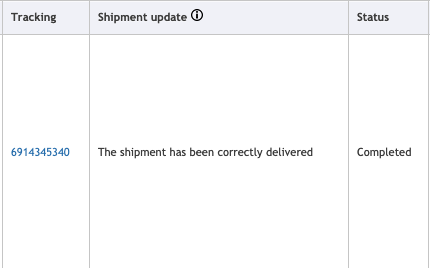
Status
When a Shipping Label is correctly created, the Status will appear as Completed.
If there was an error while creating the shipping label, you'll find an error message in red under this column.
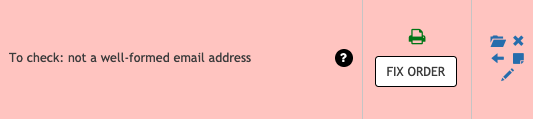
If you'd like to know how to correct Labels in Error take a look here:
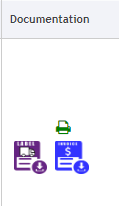
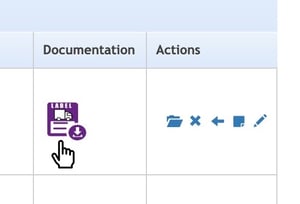
Documentation
Under Documentation, you'll find the Shipping Label ready to be printed out. 🖨
You can also find your Commercial Invoice if you created it. Click here to learn how to do it.
If you'd like to learn how to print your Shipping Labels in detail, click here:
Click on the purple icon to open the Shipping Label or your CommerciaI Invoice in a new tab.
Once you've opened the shipping label, a green printer icon will appear next to the violet one.
If you hover over it, you'll be able to see the last time you opened the label.
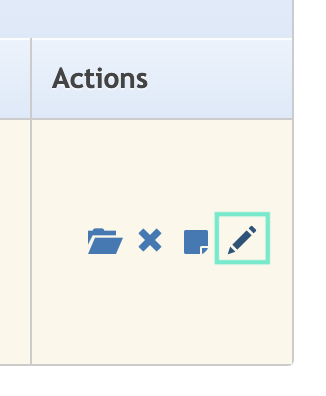
Actions
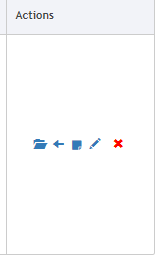
With these buttons you can:
- archive the order
- send the order back in To Ship page
- add a note
- edit the order
- cancel the order
2. How to archive, edit, cancel an order
Here are some tools you can use to make adjustments to your order.
Let's see what you can do!
-
Archive: Click on the blue folder icon to archive the order. You'll then find all archived orders for a maximum of 90 days under Views > My Archived Orders. You can also unarchive them by clicking on the same blue folder icon. Click here to learn how to archive your orders step by step.
-
Hide: Click on the blue ✖️icon to hide an order. All the hidden orders will be gathered under Views > Cancelled Orders.
Please note that you can't undo deleting an order even though you can still see it.
Learn here how to manage orders cancellation:
-
Cancel: Click on the blue ⬅︎ icon to move back the order to Label Creator > To Ship, so it will be ready to be shipped again. This could be useful if you need to change carrier, for example.
-
Add a note: You can add a note to your orders by clicking on the blue Notebook icon. You'll then see your note in red under Order ID.
-Apr-15-2024-09-07-19-1317-AM.gif)
📌 Notes added won't be transmitted to your Marketplace
📌Carrier's notes will not be automatically sent.
-
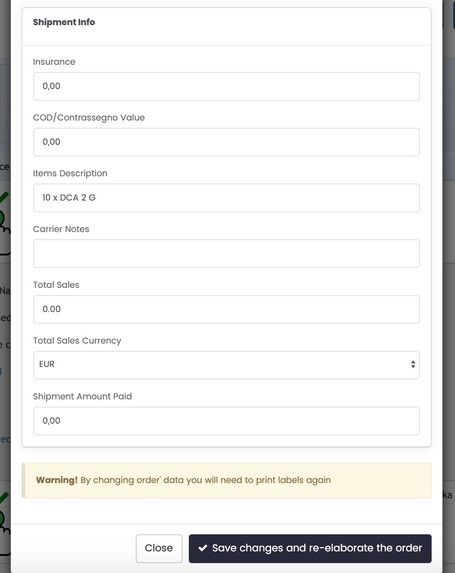
Edit order: Click on the blue ✏️ icon to edit some order info. In the window that pops up, you can edit parcel dimensions, sender info and recipient info. You'll also be able to add some Shipment Info. Eg. Insurance, COD, Carrier Notes etc...
📌Note: If you edit some order info of an already shipped order, a new shipping label and tracking will be automatically created, and it will not be possible to retrieve the previous one.
Click on the purple icon to open the new shipping label in a new tab.
-3.jpg)
3. How to filter your orders
ShippyPro allows you to use some advanced filters to view only specific orders.

Read this article to learn more about how you can filter your shipments.
Orders per page
You can either decide the amount of orders to be displayed in your Shipping Labels page: choose between 20 50 100 250 500 orders from the dedicated drop down menu on the left of the page.
-3.gif)
Filter your orders by Date range
In order to research your orders by Date range click on the bar on the right of Filter by Date and select the range of dates.
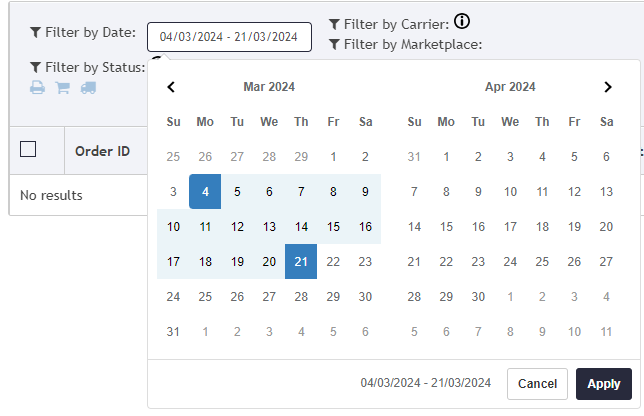
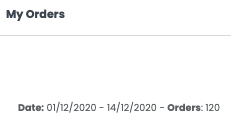
Here an example of how the range will be shown on your Shipping Labels page by selecting a two weeks period.
📌 At your first access you'll be able to display 7 days max but you can change it at anytime up to 90 days (according to GDPR rules).
📌 If an order is in the archived it will NOT appear in the date range of My Order section, but only in the date range of My Archived Orders
Do you need a recap for older orders? Take a look at our GetShippedOrders API call 👇
4. How to manage your Orders

-
Print ZPL in PDF: print the ZPL labels in PDF format
-
Print on Zebra: print in ZPL with your thermal printer
-
Print multiple labels: select more orders and print the all together
-
Print with PrintNode: if you need a more professional tool to print in ZPL
Views
Inside this section, you can additionally filter your shipments.
-
My Archived orders: Here you see all your archived orders.
-
My Return orders: By clicking on it, you'll view all the orders that are returned. Returns differ from standard orders which display a yellow arrow icon near the green tick.
📌Note: this section will be available only if you manage your returns with Easy Return.
-
Cancelled orders: Here you see all your cancelled orders.
-
Orders to check: You can select the orders in error
-
Orders yet to be printed: Click here to view orders whose shipping label was not printed out yet (in red if there are some).
-
Orders waiting to be transmitted to the carrier: View orders that need to be transmitted to the carrier (in red if there are some). Learn how to Close workday here.
-
Orders waiting to be updated on marketplaces: View orders whose marketplace was not updated yet (in red if there are some).
Carriers
-
Create manifest: This document is typically presented to the carrier outlining the parcels that will be picked up.
-
Create CN22: mandatory custom documents that must be attached to parcels intended to be shipped to Extra UE countries
Management
This section allows you to archive orders and create shipping documents.
-
Archive selected/all Orders: You can either archive all orders or only the selected ones.
📌 You'll then find all the archived orders for a maximum of 90 days under Views > My Archived Orders.
-
Unarchive selected Orders: You can also unarchive orders individually or in bulk.
-
Create Excel: Click here to read the step-by-step guide to know how you can Create an Excel in details.
-
Create Picking List: Read this article to learn how to Create a Picking List step by step.
Actions
-
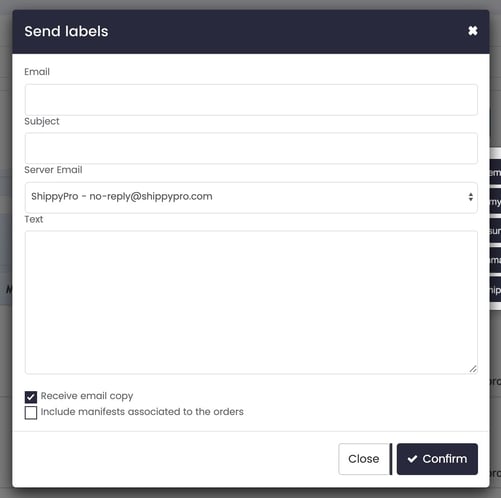
Send Shipping Labels via email 📩
You can send Shipping Labels to your customers directly via email in a few steps.
Fill out the fields and the Email content. The default sender email address is no-reply@shippypro.com but you can easily change it from Integrations > Plugin. Read this article to find out how.
📌 Note: Text field is mandatory.
-
Send order in preparation email to my customers 📩
ShippyPro allows you to send an email to your customers as soon as the order is shipped.
You can either do this manually or let ShippyPro do it with the Track & Trace feature. Read this article to know how to do it step by step.
You only need to select the orders and then click on Send order shipped email to my customers.
📌Note: if you decide to use Shipping Label's option Send order shipped mail to the customer and the condition is not active, the message won't be delivered to the customer.
-
Create Invoice or Order Summary and Create A6 Order Summary 📄
Read this article to learn how to Create an Invoice or an A6 Order Summary step by step.
🔑 Upgrade your plan to an Annual Plan to remove our Logo from invoices!
-
Fix orders in error in bulk
-
Update marketplaces with shipments info ⚙️
Marketplaces are updated automatically by ShippyPro.
However, you may for some reason like to disable this feature and update some marketplaces manually.
You can update them whenever you like by selecting the relative orders and click on Update marketplaces with shipments info.
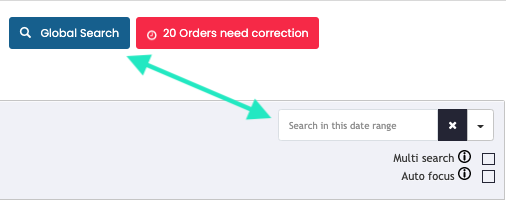
Global Search 🔍
Global Search is a search bar. It differs from the white search tool because it includes archived and cancelled orders.
Search an order by number, reference, recipient or tracking!
📌 Due to performance reasons, the searches based on names and e-mail addresses are limited to 1 month.
On the other hand, searching by ShippyPro order ID, Transaction ID and tracking number will return all results, without any time limit.
Click below to learn how to search for multiple orders!
Why was my shipment duplicated? 🤔
This can happen if the order was processed from two different PCs at the same time so it will result in two identical shipments created in the platform.
Also, it could happen in cases where you click on the "Ship" button multiple times before the page confirmed that the shipment was completed successfully.
In this case, you can simply delete the duplicate.
If you accidentally shipped both and the carrier got both parcels, you should contact the carrier directly and ask them to return the parcel to the warehouse.
5. FAQ
Have you created a Shipping Label by mistake or do you need to change some order info?
You can re-elaborate the order to change some info in a few clicks!
-
From Label Creator > Shipping Labels, click on the blue ✏️ icon under the column Action to edit some order info:
-
From the window that pops up, you can edit parcel dimensions, sender info and recipient info. You'll also be able to add some Shipment Info. For example: Insurance, COD, Carrier Notes etc...
-
Please note that if you change some order info, the shipping label will be automatically updated. This means that it needs to be printed out again.
-
Click on the violet icon again to open the new shipping label in a new tab!
Can I hide my Sender Address from my Labels?
Sender Address is a mandatory field that needs to be printed together with every label and included for every shipment.
For this reason it's not possible to hide your Sender Address from labels.
Can I change my shipments ordering from Shipping Labels page?
You can change the ordering of Shipping Labels page from My Profile > Preferences > Orders table ordering and reference.
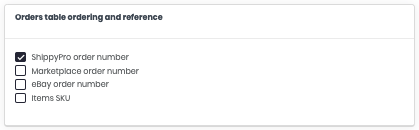
Choose between:
-
ShippyPro order number
-
Marketplace order number
-
eBay order number
-
Items SKU
You can then click on the corresponding arrow to see the preference applied:
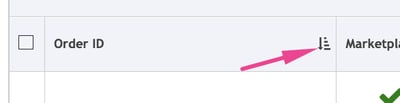
What does the exclamation mark icon next to my order mean?
- There's an N/A within the delivery address
- There's more than 1 of an order item quantity