How "Plugin" works
Learn how to connect useful tools and apps in a few steps
ShippyPro allows you to add some integrations to your ShippyPro Profile from Utilities > Plugin.
Learn how to connect your MailChimp account, Gmail, Instagram, PrintNode and so on...
Summary:
1. MailChimp
You can connect your MailChimp account to ShippyPro to add a newsletter signup block into your Tracking Page.
This way, your customers will be able to add their email in order to receive your newsletters.
Learn how you can add the MailChimp signup banner here: How to customize your Tracking Page
Connecting your MailChimp account is really easy. From Utilities > Plugin just click on the MailChimp logo, click then on Link My MailChimp account and you'll be redirected to relative login.
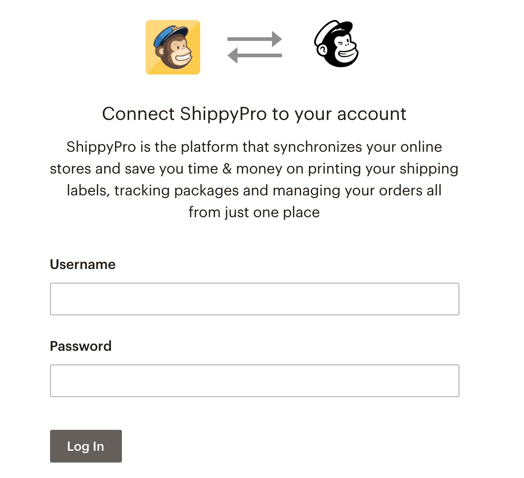
Once Mailchimp has been connected from Utilities > Plugin menu, the email of the order recipient will automatically be transmitted to Mailchimp.
The Mailchimp owner is responsible for notifying the recipient that the email may be used for marketing purposes.
2. PrintNode
PrintNode is a fast cloud printing service that supports all printers.
Using PrintNode will allow you to print your shipping labels as soon as you generate them.
PrintNode costs 9$ for 5000 prints. Here you can create an account to start printing from several printers.
You need to have Printnode opened on your device in order to set it up on ShippyPro.
Learn how you can connect your PrintNode Account to ShippyPro here:
3. Gmail
⚠️ Kindly note that the Gmail Plugin service is currently under maintenance
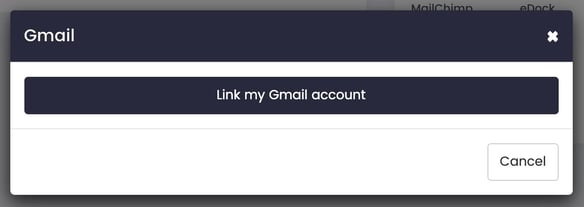
You can send Tracking Emails to your customers using your Gmail account.
Connecting it to ShippyPro is really simple.
By clicking on the Gmail logo, you'll be redirected to Gmail login page.
On the left side of the page, you'll be able to edit your Gmail integration and set this server as default for Tracking Emails and every time you need to contact your customers via email.
4. SMTP Server
Would you like to use your email as sender for Tracking emails instead of
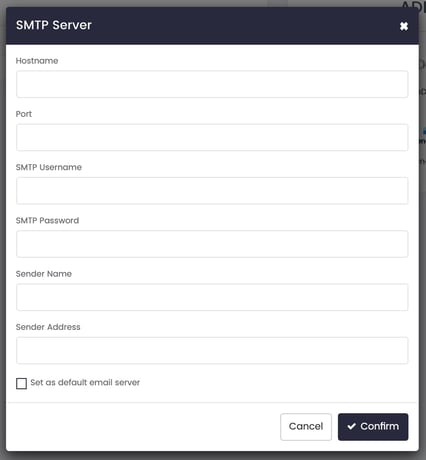
You can connect your customized SMTP Server filling out the required data. If you don't have them, you can easily ask them to your SMTP Provider.
Hostname: smtp.domain.com
SMTP Username: email address (eg: inboxname@domain.it)
SMTP Password: password related to the email inbox
Port: 465
Sender name: Name of the sender
Sender address: mail@domain.com
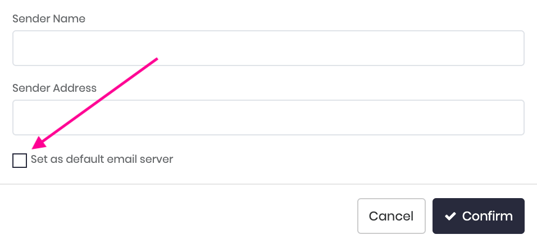
Tick the box at the bottom of the window to set your server as default.
Note: POP3/IMAP and SMTP Server address follow this convention:
mail.domain.extension.
If you'll receive a test email then the connection will be correctly established.
SMTP server plugin is not compatible with MFA authenticated email servers.
5. SendGrid
You can also set SendGrid as default server for your sending emails to your customers.
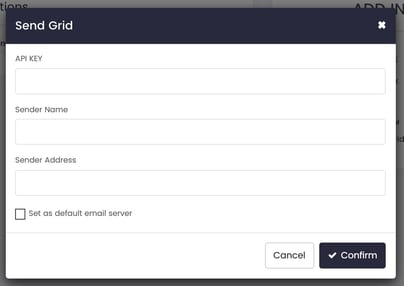
To connect SendGrid to ShippyPro, you need to create an API key and fill in this data.
Tick the box at the bottom of the window to set your server as default.
Please notice the Sender Name is not an email address and it needs to match with the Sender Name configured in SendGrid.
You can find more information on the Sender here
6. Instagram
⚠️Please note that Instagram plugin is under maintenance and not working until further notice
You can connect your Instagram account to your ShippyPro profile to increase your social networks Engagement.
Add your latest Instagram posts to your Tracking Page to increase your Instagram Likes and Followers!
Learn how to do it here: How to customize your Tracking Page
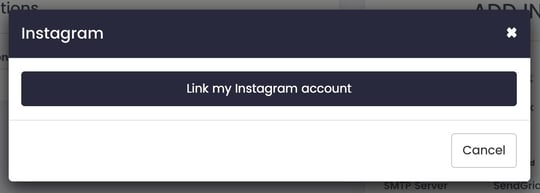
To connect Instagram, click on the relative logo and then on Link my Instagram account. You'll be then redirected to the Instagram login.
7. Troubleshooting & Errors
Why can't I connect Gmail Plugin?
In case you're facing some issues with the connection, try to follow the steps below, indeed Google recently started to block the connection from third-party app without 2 factors authentication.
-
Access your Google Mail account (@gmail or @domain in case you use Gsuite) and follow this guide to configure 2FA : Google Account > Security > 2-Step Verification > Start.
-
Once activated 2FA on your account, you need to create an App Password: Google Account > Security > "Access to Google" section > App Passwords > login. Select then "Other" inside the list and name it "ShippyPro" before clicking on Generate.
This action will create a different password from the ones usually employed to be only used inside ShippyPro App > Utilities > Plugins > SMTP.
Error adding SMTPServer integration: SMTP connect() failed
This message usually indicates that the credentials introduced are incorrect, or there's an active firewall that's blocking the connection.
I received an email: "Your SMTP Server Connection to ShippyPro is in error". What does it mean?
Click on Integrations > Plugins > SMTP Server to open the configuration banner and check your SMTP Credentials.
Be sure that the credentials are correctly inserted and click on Confirm.
Remember to set the server as default through the option on the bottom of the menu.
You'll find below a list of Hostname for the main Providers:
-
Outlook.com > smtp.live.com
-
Yahoo.com > smtp.mail.yahoo.com
-
AOL.com > smtp.aol.com
If yours is not one of these try take a look here.
As well as a list of the main Global Hosting Providers:
If the issue continues, try these steps:
-
Check if the hostname is correct, as your SMTP provider provides this data confirmation would be needed in that regard. In general, ensure that all the credentials entered are accurate.
-
Try entering the ports 588, 2525, and 465 as part of the troubleshooting steps.
-
Try reconnecting the server by following this guide (ONLY FOR ARUBA).: https://guide.hosting.aruba.it/email/parametri-configurazione-caselle.aspx
-
Check with your server provider for the following points:
-
Possible blocks due to antivirus software;
-
possible blocks from firewalls and for outgoing SMTP emails;
-
blocks from different servers;
-
credentials used (hostname, port, SMTP username, password, etc.);
-
Operational OpenSSL extension.
What should I do if I cannot find an integration?
If you wish to connect an app or integrate a service via API (such as Shipturtle), you must activate the API section of your profile. As this is a paid option, please contact our support team for further information. Please note that we cannot guarantee the functioning of these integrations, as they are developed by third parties and are beyond our control.