From the section My Profile you can edit your Profile Info and your main Preferences.
Let's see how the various sections work! 🔍
Summary
1. Sender Info 👤
By clicking on My Profile, you land on Sender Info section. Here you'll be able to edit your profile address.
This address will be saved as the default Sender Address for all your labels generated after the update.
Don't worry; you will always have the option to modify it each time you ship an order.
All fields are mandatory except Other fiscal ID.
Here the list of all the fields available:
- Name
- Company name
- Street
- City
- Province
- Telephone number
- Other fiscal ID
- Surname
- Street number
- Post code
- Country
- Vat Code - For USA companies you can add your EIN NUMBER.
- Eori - You can now add your EORI number for international shipments.
By filling Company name field, some Carriers will show this info as Sender Name.
Use a different sender address
If you have various suppliers, and therefore various sender addresses, you can speed up choosing it for different orders with Change Sender Address.
You can change your sender address of all orders by clicking on the orange button Change Sender Address.
2. Invoice Info 🧾
From Invoice Info, you can change your Invoice Data and customize the layout.
- To add your logo, simply click on Browse. Remember that you can add only jpg and png file with a max dimension 250 x 250 px.
💡 In order for the image to be uploaded and displayed correctly, you should upload it in rectangular, not square format.
-
You'll then have some additional options to customize your invoice even more, as Currency, Tracking or Translation Preferences.
To do so apply one or more of the following options:
-
Show items images inside invoices
-
Always use my main currency inside invoices, convert the order value if needed
-
Show tracking info inside invoices
-
Show export info inside invoices for international shipments
-
Use comma instead of dots for amounts
-
Disable invoice translation
-
Send invoices automatically
-
-
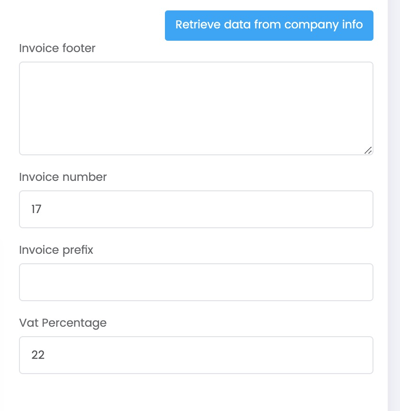
On the right side of the page, you can add some additional information for your customers inside the Invoice Footer.
-
You can also change your Invoice Number. This number is sequential, so if you add 6, the number of the next invoice will be 7.
-
To make sure the currency generated in invoices matches your currency preference on your profile, simply check the second box. If left unchecked, the currency selected while generating the invoice is used.
- You can retrieve your invoice data from the blue button on the top right of the page. By clicking on it, sender info will be automatically retrieved and filled in.
You can enter the SDI code in the Recipient Code field.
🔑 Upgrade your plan to an Annual Plan to remove our Logo from invoices!
3. Preferences ⚙️
From Preferences, you can edit some general settings.
General Preferences
In General Preferences, you can set your favorite languages, dimensions, currency, weight.
📌 Weight preferences will only affect To Ship section.
📌 In case your language settings are not being correctly applied, change the browser language into the target language 🌐
Carrier Preferences
In Carrier Preferences, instead, you can apply some visualization preferences such as:
-
Show tariffs with no VAT
-
Show article's details with images in the To ship page
-
Show article's details with images in the Your orders page
-
Check order data when shipping orders.
It may happen that your orders won't include your customer's phone number or email address and the system would give you error for that.
Proceed from My Profile > Preferences and disable Check order data when shipping orders option from Carriers Preferences.
Content description printed on the labels
From this box you can choose what information to include inside your shipping labels as for example: Order description, ShippyPro order number or Marketplace order number shown, SKU and quantity and a Custom value.
📌 Please note that only one option can be selected from those listed above.
📌 Regarding International Shipments, some Carriers will accept the Items Description over Custom Value since that's a mandatory data for CN22.
You can manage to add the custom value in Items Description field, but we can't guarantee that field length and label space will allow the action.
Order reference printed on the labels
You can choose whether to show ShippyPro, as well as transmit with your shipments' info, order number or Marketplace order number on the shipping labels.
Learn how you can add more informations on labels in details here: Can I add some information on my Shipping Labels?
My Manifest
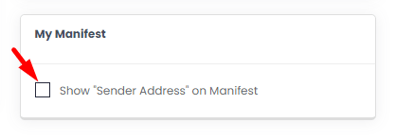
The Sender Address in the top left-hand corner of the Manifest originates from the data present in My Profile > Sender Info.
If you wish to hide this information from the Manifest, you can uncheck the option “Show Sender Address on Manifest”:
Orders table ordering and reference
Choose the order reference for which you'd like to sort your orders on Shipping Labels page, you can choose among ShippyPro order number, Marketplace order number, eBay order number and also Items SKU
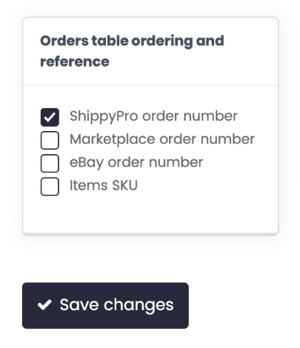
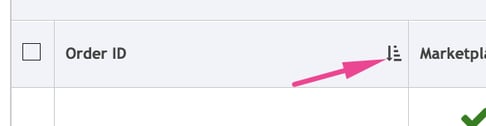
You can then click on the corresponding arrow to see the preference applied:
4. Profile Picture 👤
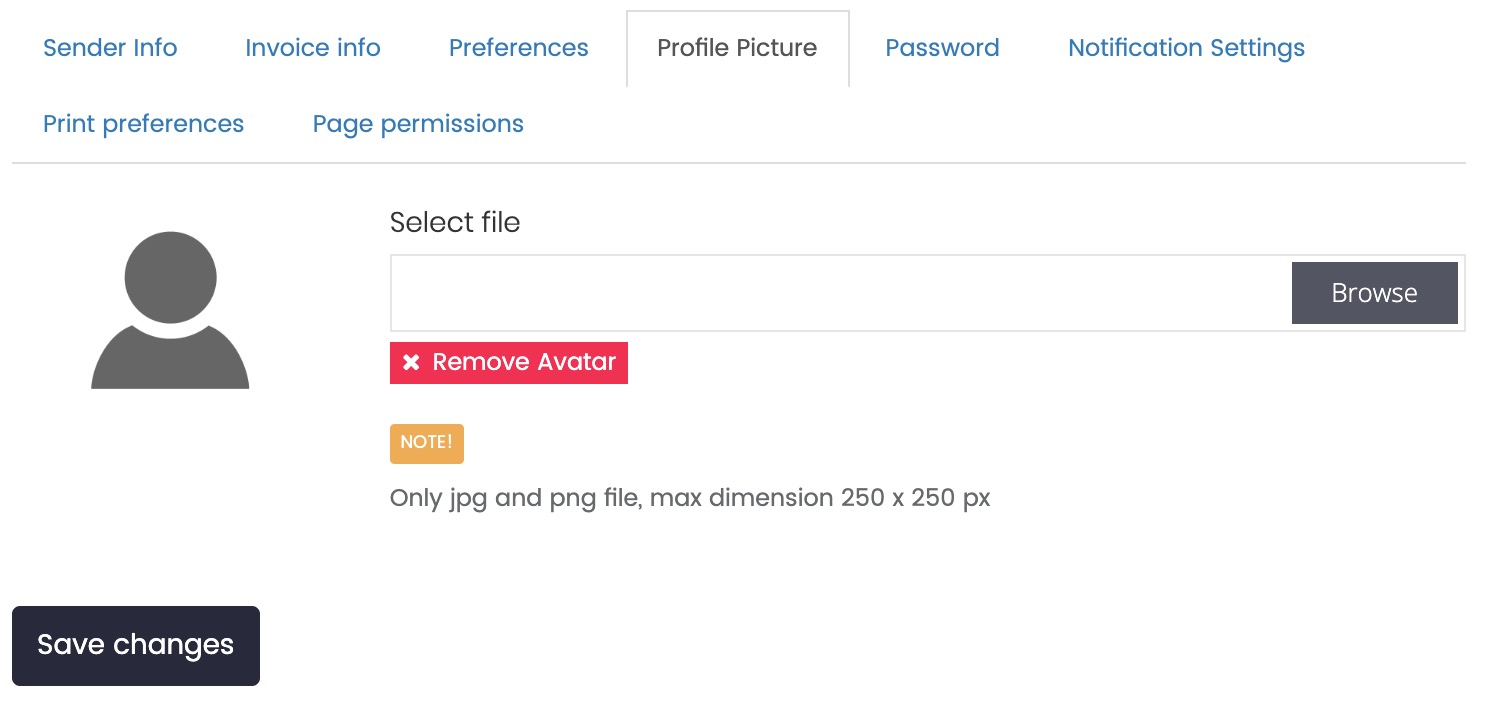
Here you can easily change your profile picture. Remember to upload only jpg and png file with max dimension 250 x 250 px.
To ensure that the image uploads and displays correctly, it should be in a rectangular format rather than a square one.
This picture will only be displayed inside your profile. From My Profile > Invoice Info, you can upload your logo to be displayed on your invoices.
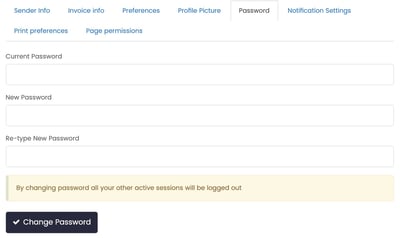
5. Password 🗝
From this section, you can change your account password. You'll only need to enter your current password ad type a new one.
6. Teams
ShippyPro Teams allows you to manage all your Team members that have access to your account in a flexible and totally secure way, all in just a few clicks! ✨
This feature is only available with our Professional Plan.
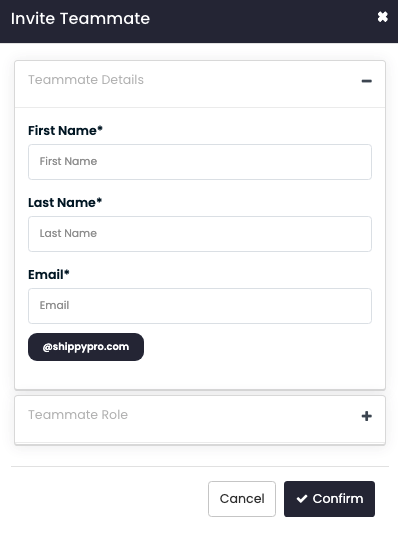
Adding a new member to the Team is a matter of seconds.
Click on Create a new team and add then your teammate details:
- First Name
- Last Name
7. Security
Discover on this article how to configure and authenticate your ShippyPro account through your Email or via One-Time Password (OTP).
How to set up password and session expiration for my account?
-
Password Expiration days: will make your password expire every X days;
-
Session Expiration Minutes: will make your session expire, if you don't access any page in the meanwhile, every Y minutes.
If you wish to opt-out of one of those systems, you simply have to clear out all the fields and press Save.
8. Notification Settings
You can choose to receive notifications when a new order arrives, when your shipping labels are ready for printing, or when a shipment is on hold and requires further assistance.
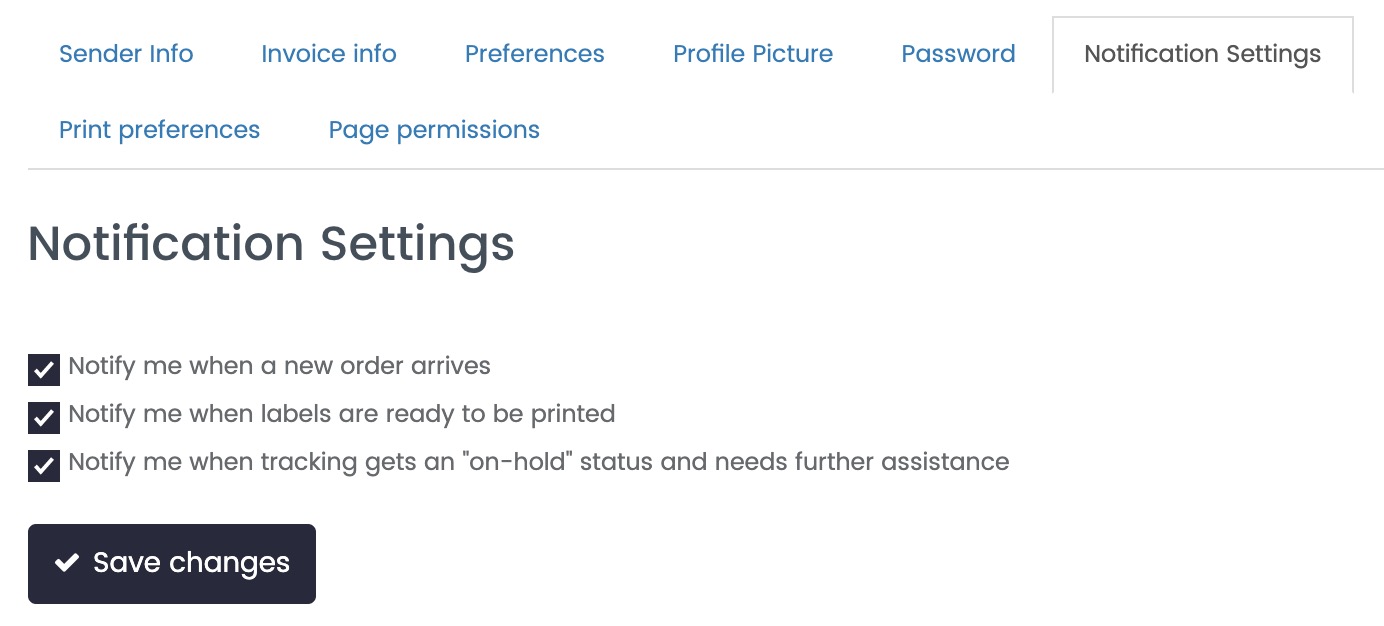
You'll be notified with a banner at the top of the page.
9. Print Preferences
Here you can edit your preferences. You can choose whether to print your labels in PDF or ZPL with a Thermal Printer.
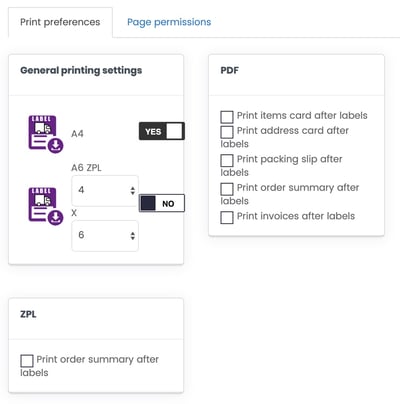
You can also decide to print other shipping documents or commercial invoice after the shipping labels, as for example:
-
Print items card after labels : you will print product title, item picture, quantity, SKU (no order details)
-
Print address card after labels : you will print address, phone number
-
Print packing slip after labels : you will print order details, title, quantity
-
Print order summary after labels: you will print the recap of the order (similar to the invoice)
-
Print invoices after labels: you will print the invoice
Note: to make these two latter options work you need to first select the orders and then click on Action > Crete invoice or Order Summary.
📌 The only format available for these two option is A4.
10. Sessions
Here you can find a list of your last login sessions with login email, Host IP, Location, date and hours of your last access.
11. Close account
If you ever decide that ShippyPro isn’t the best shipping platform for your business, first proceed to delete:
-
your Carrier + Marketplace connections
-
any credit card registered to your profile from the Plan section
Note: this action is irreversible.
12. Page permissions
The access to your ShippyPro Account is unique. Your ShippyPro account can be linked up to just one e-mail address and, therefore, just one access.
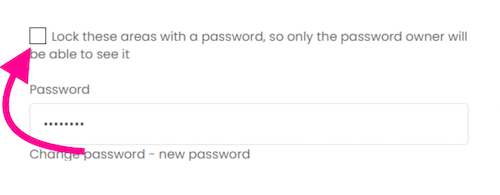
What you can do to prevent other people to access some Areas is to apply a Password, so only the password owner will be able to access them.
Choose the areas you'd like to lock, the password you set will be the same for every section.
💡 PRO TIP: Need more control than password protection? ShippyPro Teams offers professional access management with individual accounts for each team member. Assign granular, role-based permissions (Shipping only, Customer Care only, Analytics only, Returns only) instead of sharing a single password—improving security, accountability, and collaboration across your team.
13. Troubleshooting & Errors
How to remove password? 🔑
1. Uncheck the “Lock these areas with a password” box.
2. Enter the password.
3. Click “Save”.
What can I do If I've forgotten my Page Permissions Password?
Contact our Support Team either via chat or form request from your Support Panel by clicking on the black HELP button in the lower right corner of your account. Then, indicate your account's login email address in order to proceed with your identity verification.
Once concluded, we'll reset your password.
If you encounter too many login attempts, please allow 5 minutes before trying again.
Don’t worry, you’ll be able to access your account soon!
I have changed my billing information; how can I update it in ShippyPro?
Go to the My Account section > Invoice Info and update your details. This will also update the sender details on the invoices you send to your customers.
If you need to update the information for your shipping labels as well, be sure to modify the details in the "Sender Info" section as well.
If you have any questions about how to modify the fields, please refer to sections 1 and 2 of this guide.