![ShippyPro Logo-1.svg]](https://help.shippypro.com/hubfs/Imported%20sitepage%20images/ShippyPro%20Logo-1.svg)
The Return Shipments dashboard (Returns > Return Shipments) gives you a real-time overview of your returns for the last 60 days. You can filter by status, carrier, marketplace, or date, and export results to an Excel file.
Let's see how Return Shipments works!
Summary:
- How the Dashboard works
- How to filter your return shipments
- Where is my Tracking Number?
- How to hide a return and add a note
- How to send predefined emails
- How to Download an Excel
1. How the Dashboard works
Inside the Dashboard, you'll see a quick recap of your return shipments. Here you can see your returns filtered by their latest status updated from the carriers.
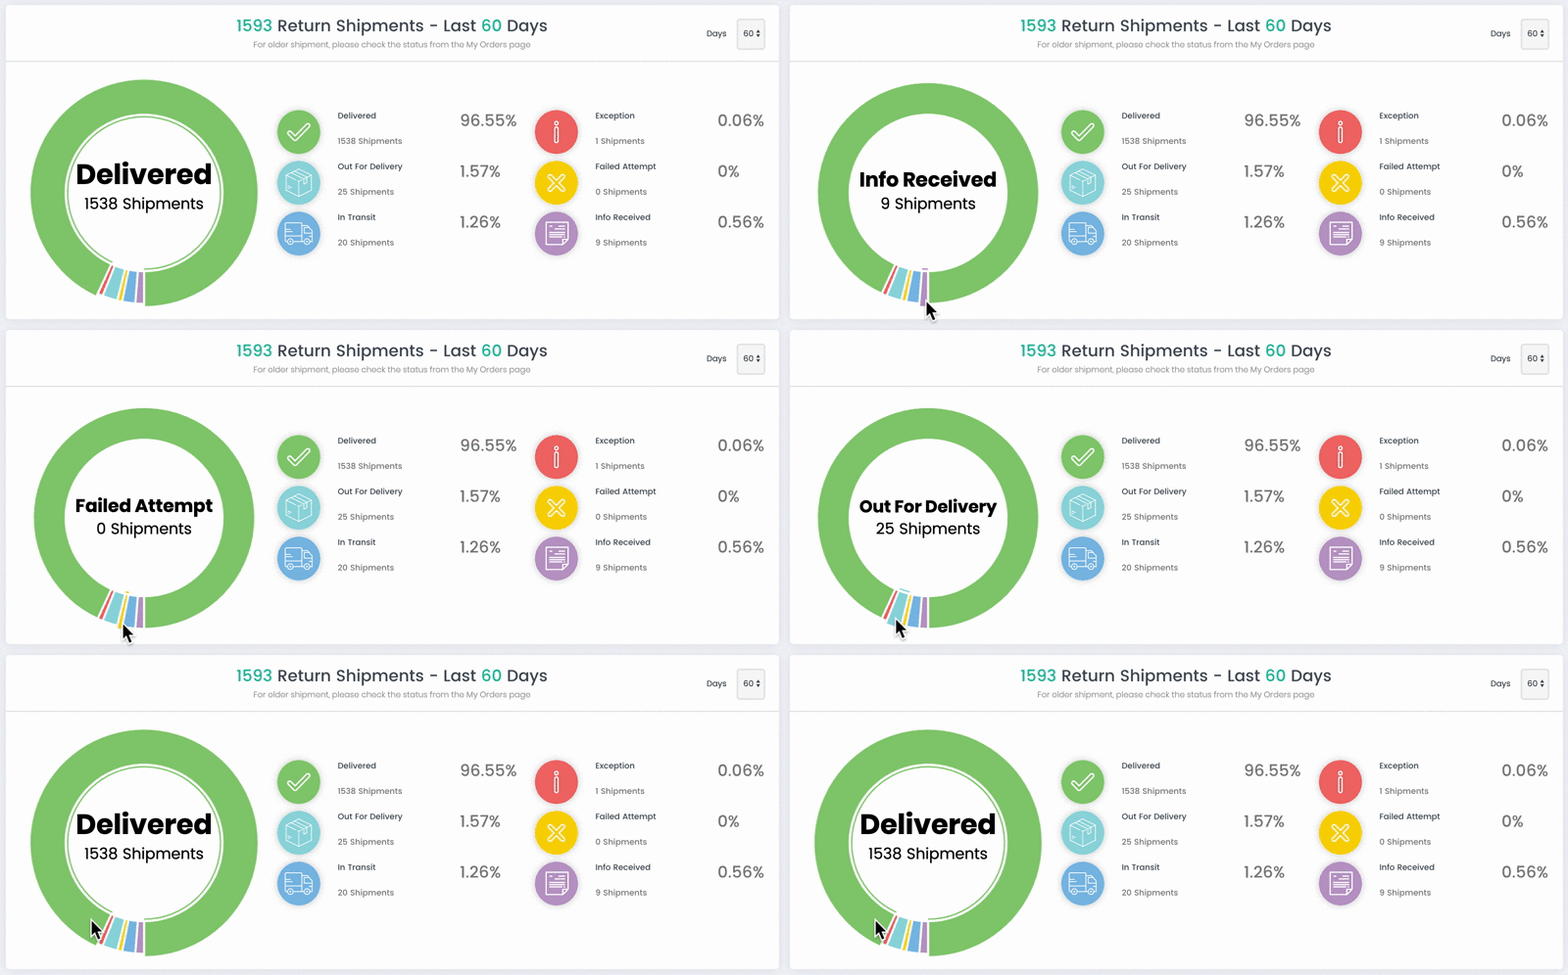
You can decide to view return shipments of the last of the last 7, 14, 30 or 60 days. For older returns you can check the status from Shipping Labels > View > My Return Orders.

2. How to filter your return shipments
-
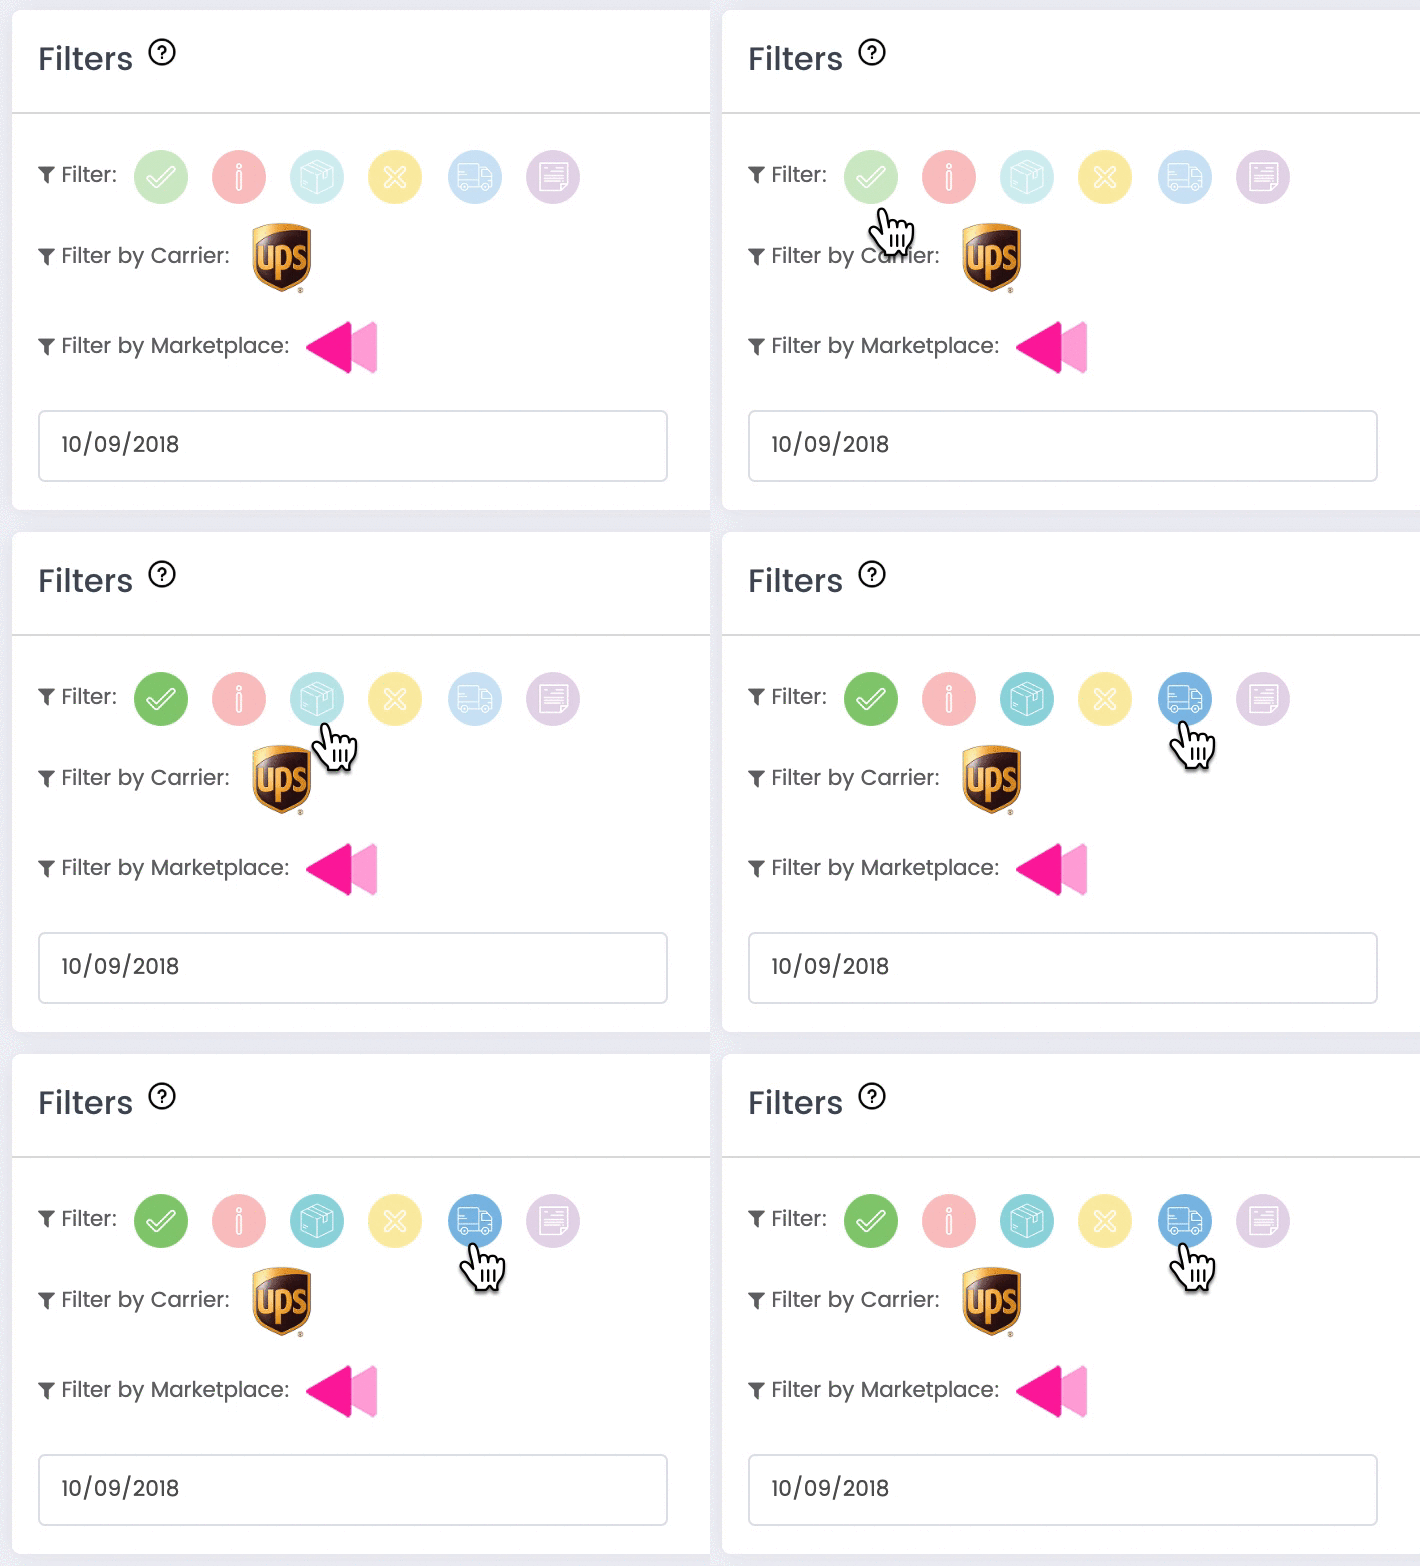
You can Filter your return shipments by Status, by Carrier, by Marketplace or by Departure Date. Otherwise, simply search by name or tracking number among all your orders.
-
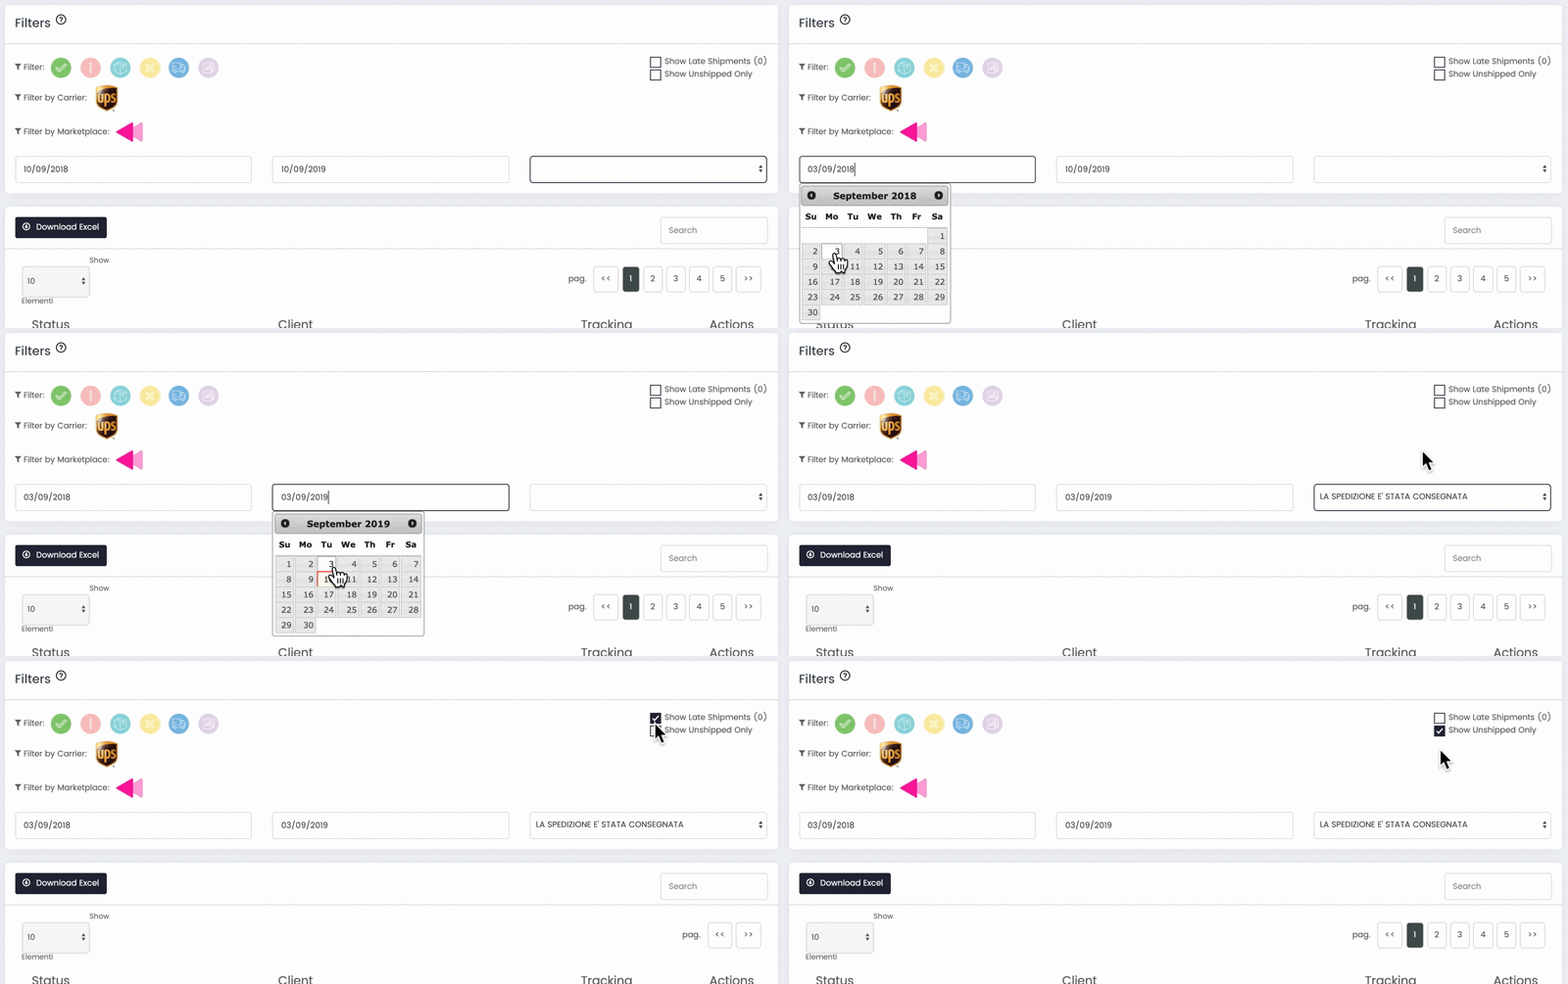
You can also filter your return shipments by the day of label creation, clicking on Filter by departure date.
-
ShippyPro identifies Late Return Shipments even if they don't show particular problem but they are simply in transit. Click on the box on the right to display them.
-
Click then on Unshipped Only to display returns that haven't received any status from the carrier yet. These returned orders won't appear on the Dashboard since their status is registered as Unknown.
3. Where is my Tracking Number?
Once you've shipped your return orders, the Tracking Number will be automatically created and updated in your sales channels according to your settings.
You can find the Tracking Number of each order under the column Tracking:
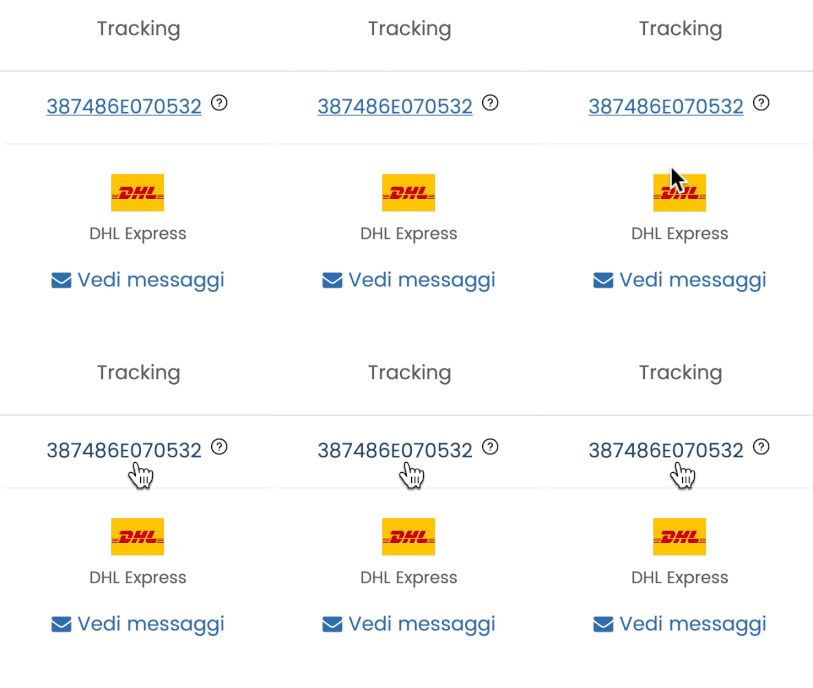
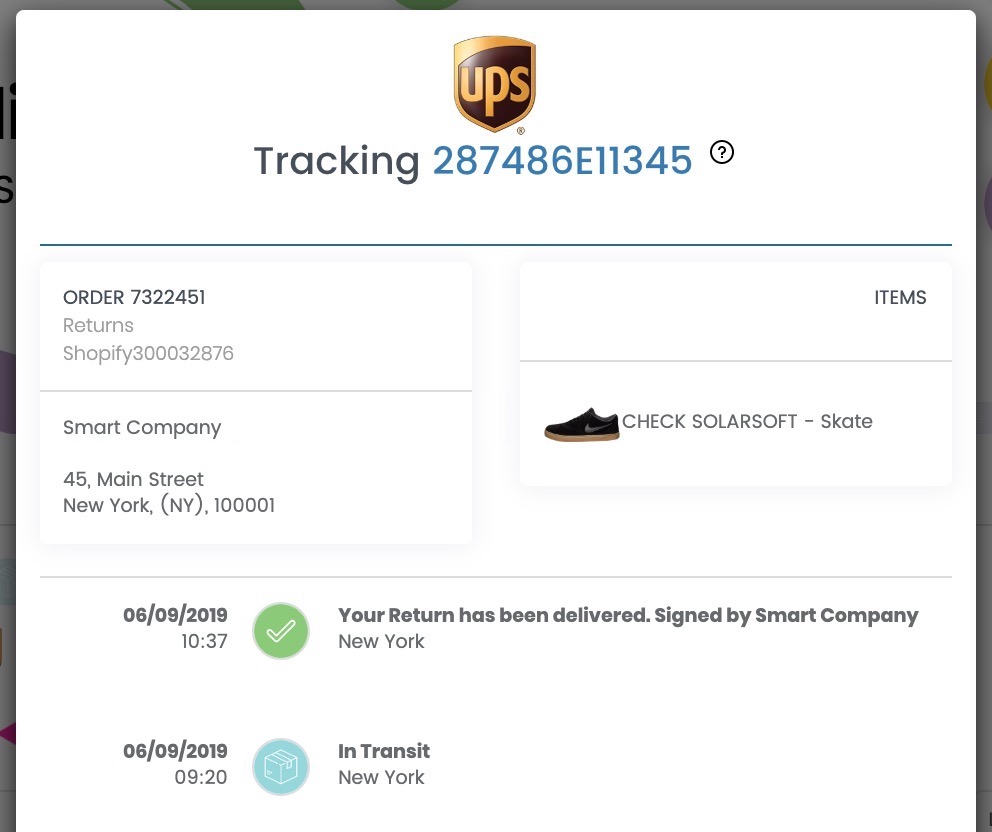
Click on it to see the Tracking History of each returned shipment. If you click on the Tracking Number again, you'll be redirected to the carrier tracking page.
4. How to hide a return and add a note
- Click ✖️ next to the return shipment.
- Note that once hidden, email notifications will no longer be sent to the customer, and the return will only be accessible from Label Creator > Shipping Labels.
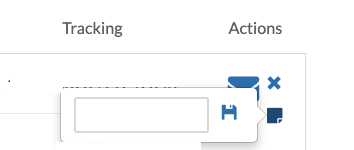
- Click the post-it icon next to the shipment.
- Enter the text of the note.
- Click the floppy disk icon to save.
To hide a return shipment:
To add a note:
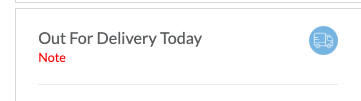
The note will be visible written in red under the latest status of the shipment.
5. How to send predefined emails
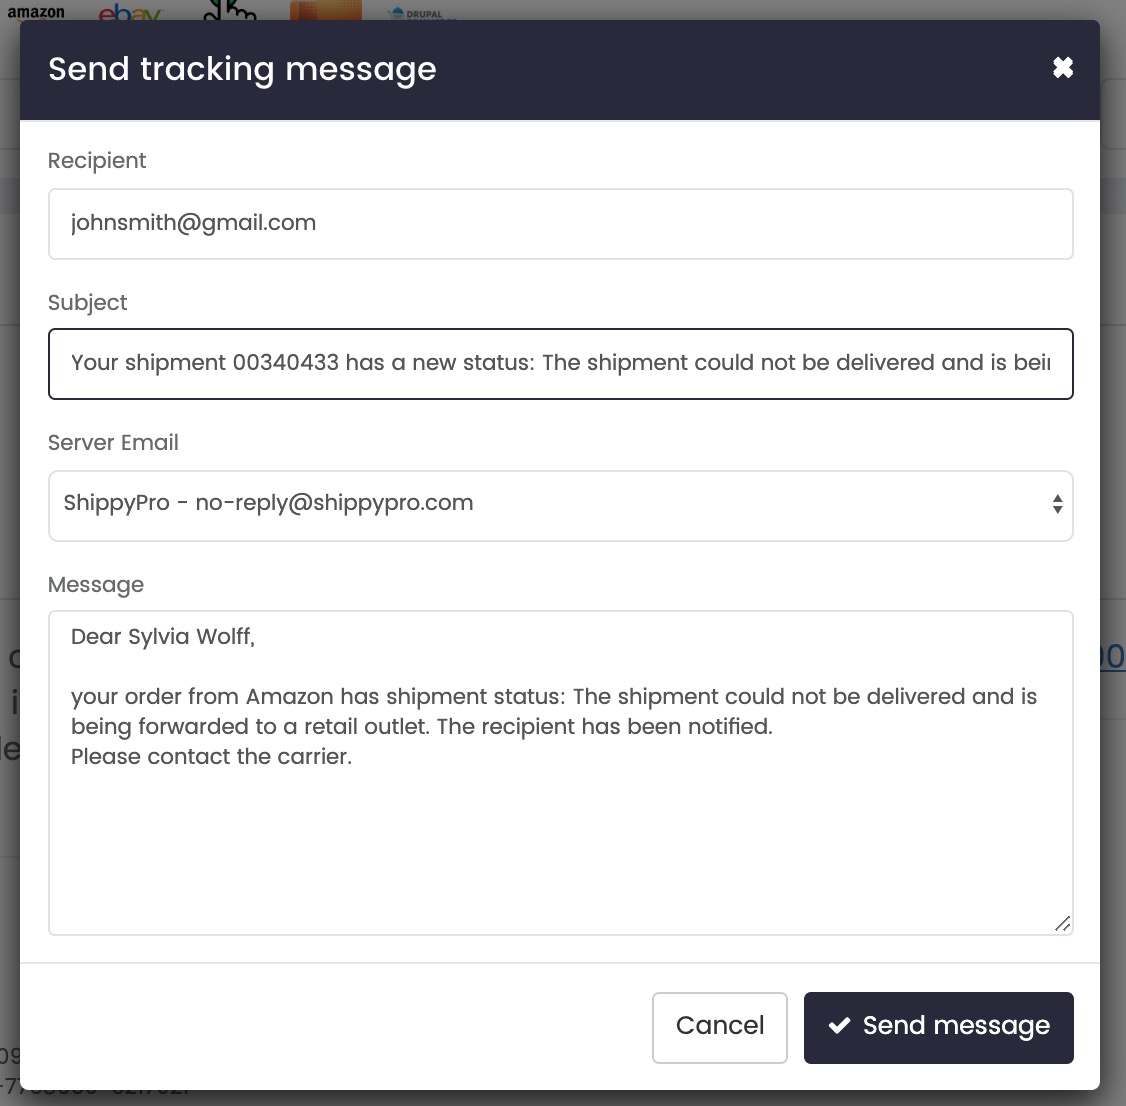
To send a predefined email to update a customer about their return, click the email icon next to the relevant shipment in the Return Shipments list.
In the window that pops up, you can edit the subject, recipient and content of the email and choose a different Server Email to be shown as sender address between the ones connected in Integrations > Plugin (the default is no-reply@shippypro.com). Click here to learn how to connect different Email Servers.
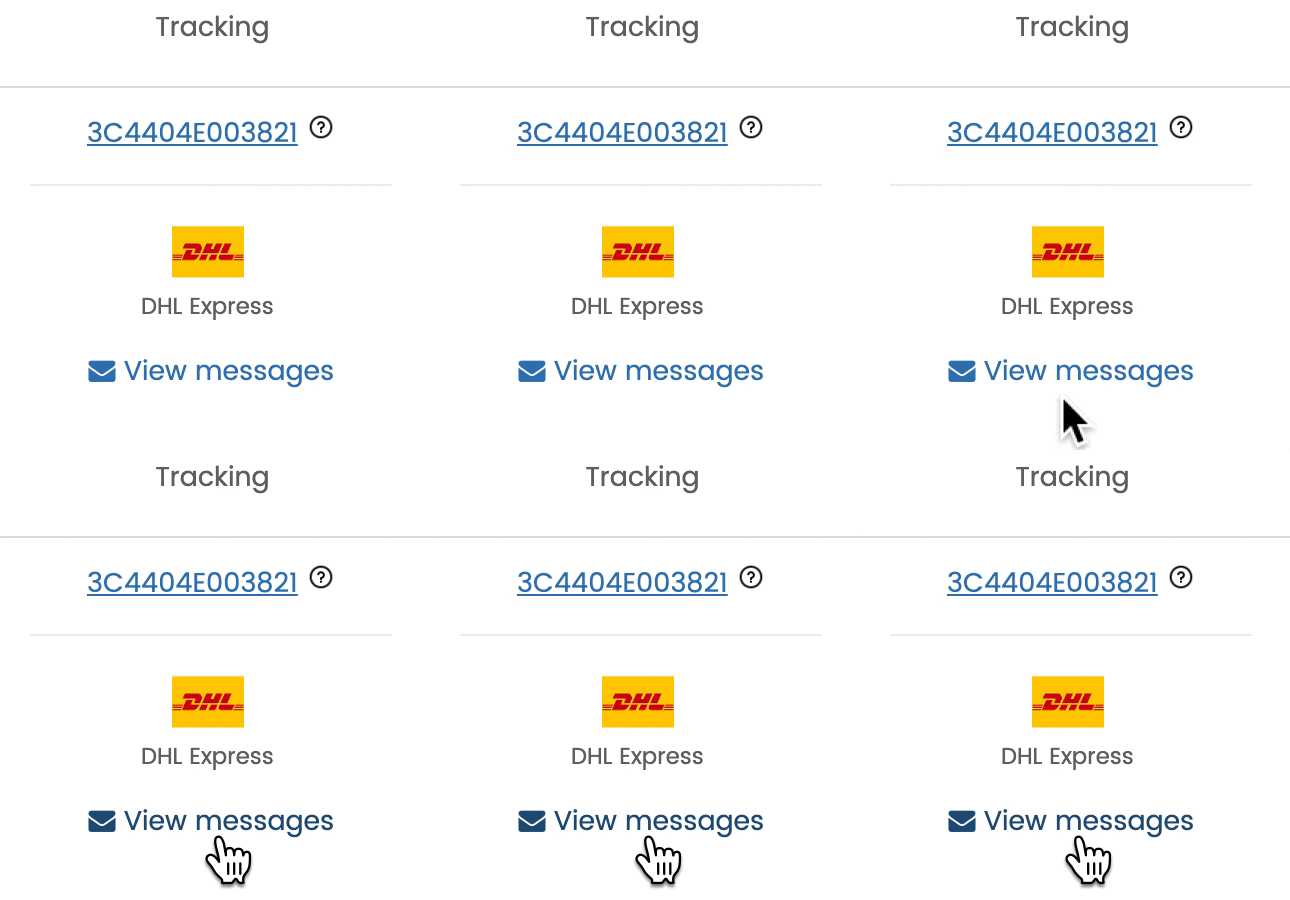
If you'd like to see Tracking Emails that have been automatically sent from ShippyPro, click on View Messages:
You can choose for which status you'd like to send Tracking Emails to your customers from Track & Trace > Email Condition.
Learn how to it step by step here: How "Email Condition" works
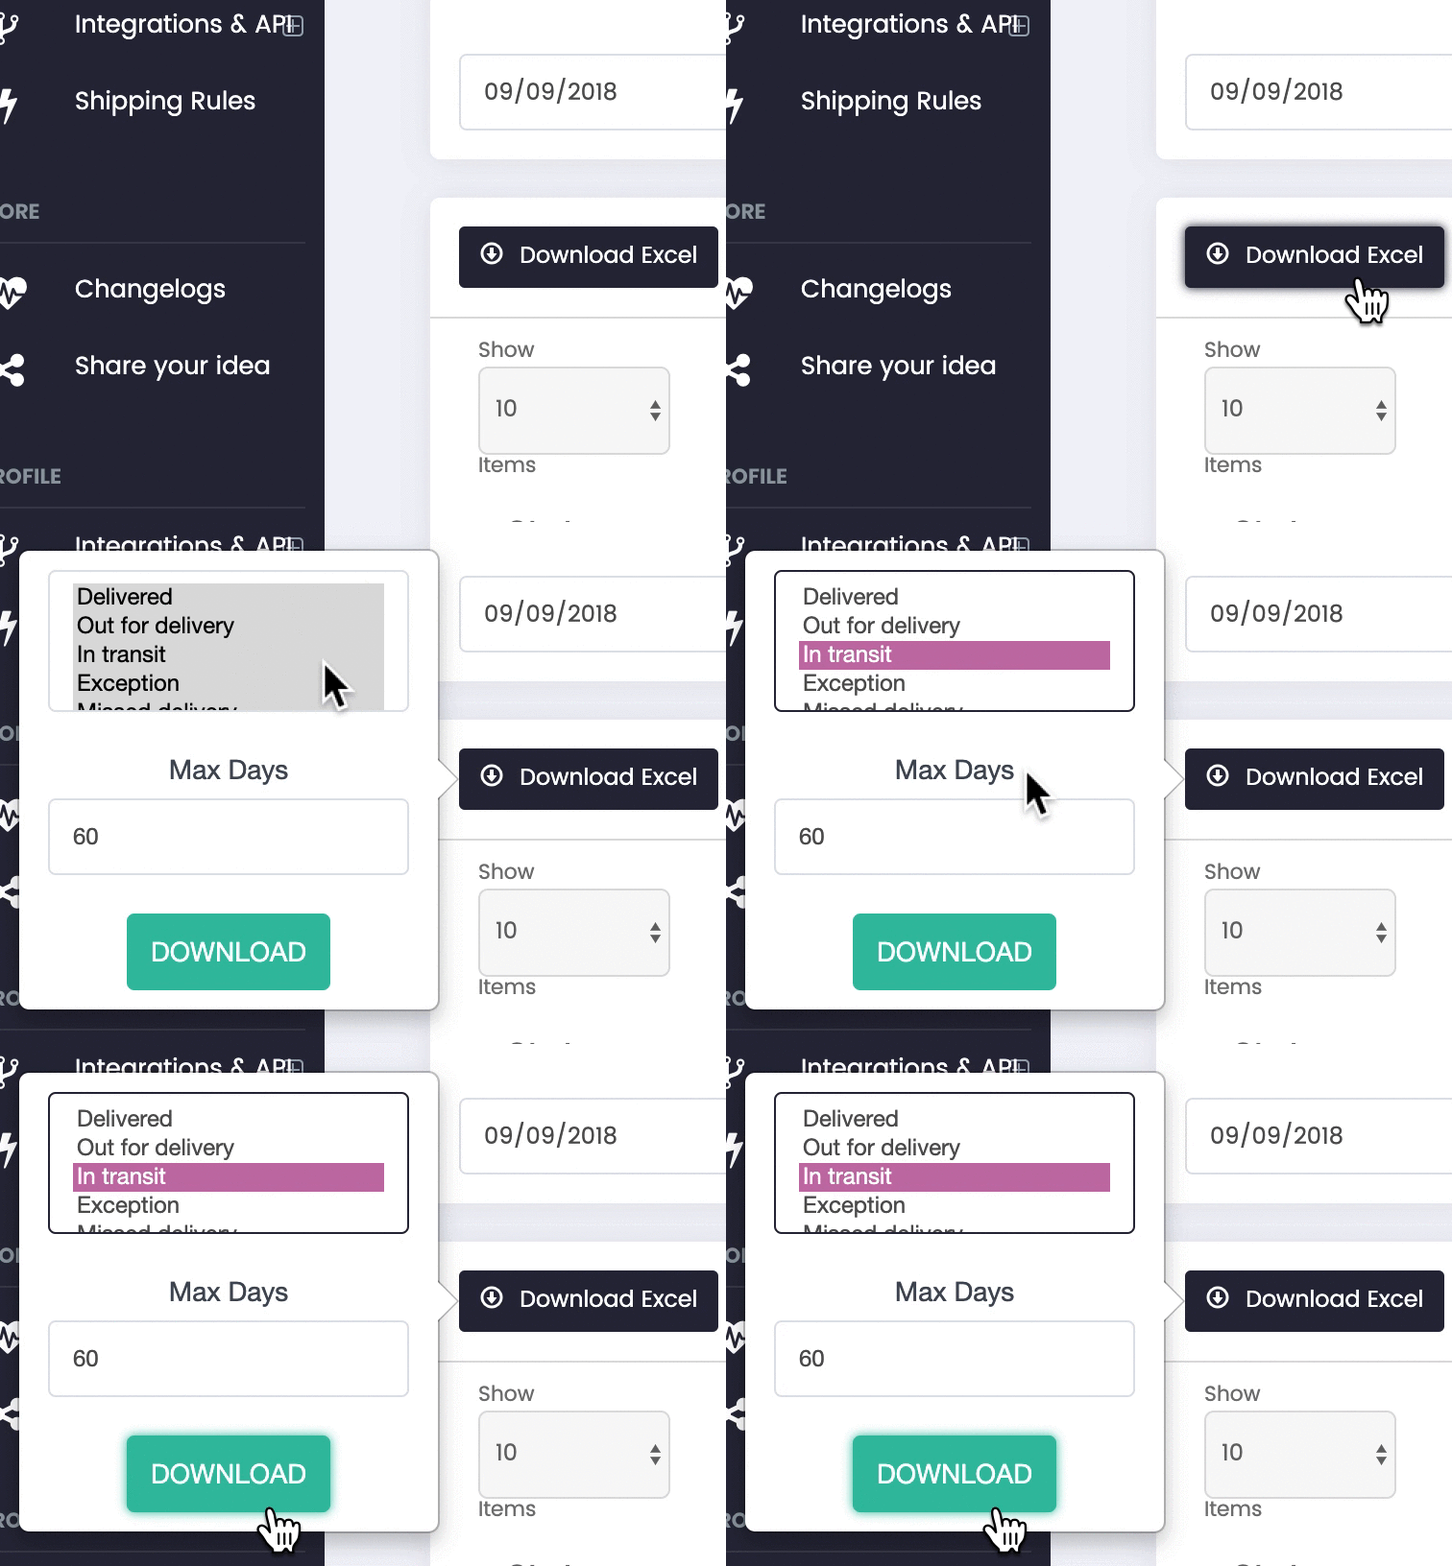
6. How to Download an Excel
Here you can Download an Excel of your return shipments by selecting a specific Status. You can set a date range of up to 360 days. Note that personal information is automatically anonymized after 90 days from order creation — verify these limits are current for your account or plan.