
Learn step by step how to create a Manual Shipment and a Return Label
This legacy version will soon be discontinued. To activate the new version, click the toggle in the top left:
-2.png?width=170&height=94&name=image%20(4)-2.png)
If you are already using the new interface, we invite you to check this article.
Creating a Manual Shipment is really easy and intuitive with ShippyPro!
You may need to add a manual shipment for different reasons. If you receive an order outside your marketplace, for example, or if you receive a Return and you'd like to create a Return Label.
Let's see how to do it step by step!
How to Create a Manual Shipment
You can manually create a shipment from Label Creator > To Ship.
-
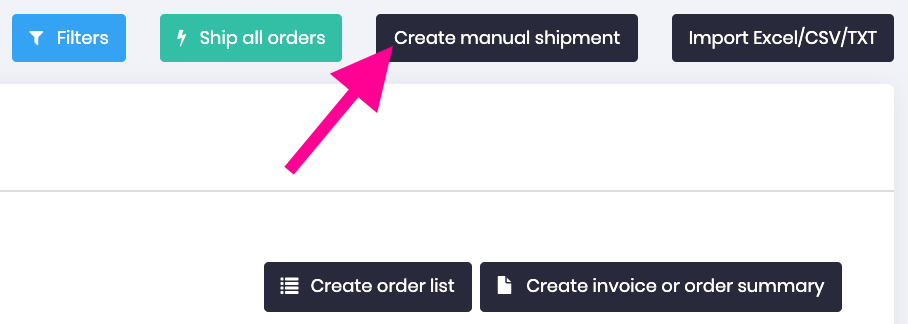
Click on Create manual shipment on the top right corner of the page to start.
Tip: to use information from an already existent order, include its ID number in Search field to apply the data to the shipment.

1. Sender Info
In the window that pops up you'll see Sender Info, that should already be compiled with the address you have entered when you first registered.
If you'd like to change it, you can do it from My Profile > Sender Info.
Also, If you'd like to use a different Sender Address, you'll need to add it from Admin > My Addresses and Parcels first and then select it from Your Address Book in Create Manual Shipment.
Then click on Next Step to proceed.
2. Recipient Info
To complete the fields containing Recipient Info, you can either manually add the address or retrieve it from your Address Book. Click on Next step to proceed to Parcel Details.
Note: Name, Street line, City, Post Code and Phone are mandatory fields.
3. Parcels Dimensions
From this section, you can edit Parcel Dimensions.
-4.jpg)
Learn how to edit Parcels Dimensions here: How to edit parcels dimensions
4. International Shipments
ShippyPro offers specific functions for International Shipments.
If you have to deal with an International Shipment, you will need to include some additional information for the customs.
ShippyPro will automatically create a document that will automatically transmitted to the Carrier.
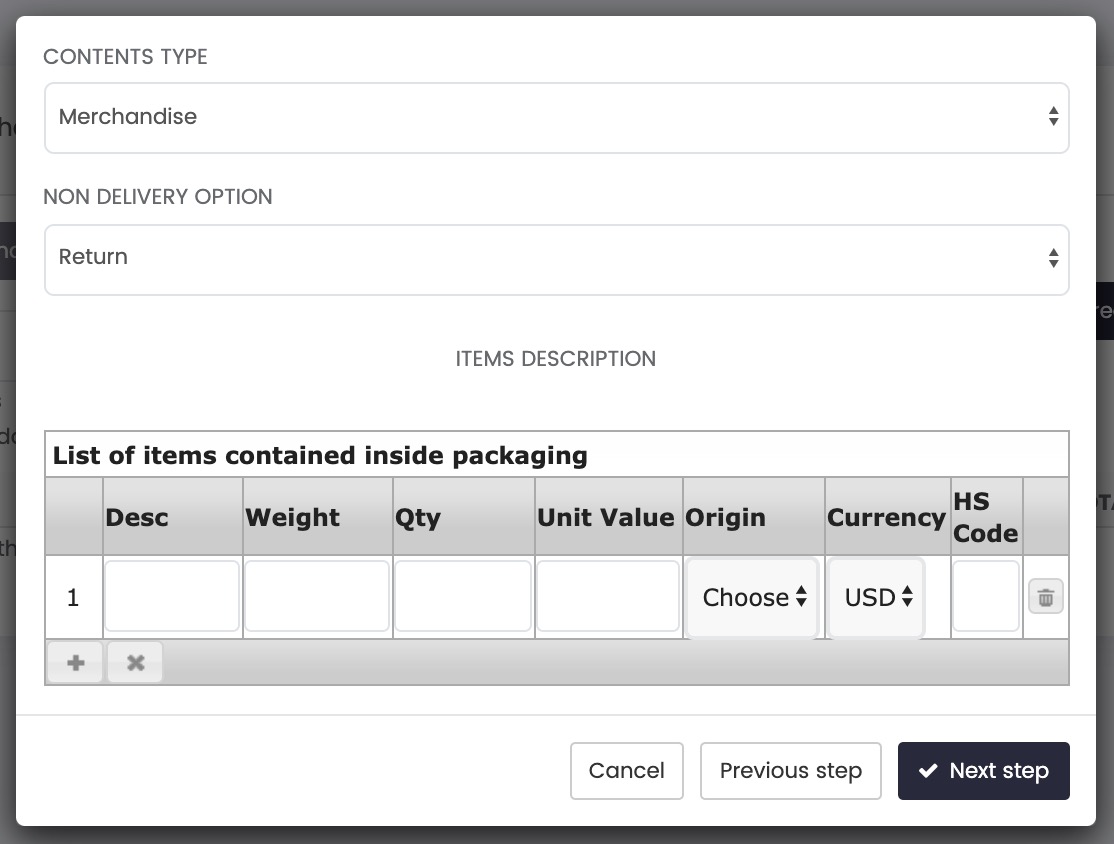
First, choose Contents Type. Then select the option to apply to the carrier if it couldn't reach the customer.
Finally, add other information. Keep in mind that the HS Code field is not a mandatory field. However, some carriers may ask for it for some international shipments.
Here is how to manage international shipments by creating Customs Documents, specify the Incoterms and attach the Paperless Documentation: How to manage International Shipments
Have you ever heard about CN22 and CN23? Here everything you need to know about them: What's the CN22 and CN23? When do I use them?
5. Shipping Rate Calculator
ShippyPro automatically compares Shipping Rates of all your carriers and choose the best option for you, showing the economic prices first.
You only need to choose the option that suits you best and then click on Send.
-1.gif)
In a few minutes, labels will be ready to be printed inside Shipping Labels section.