Let's explore together how to connect Packeta to ShippyPro in just a few simple steps 🔍

1. Before you start
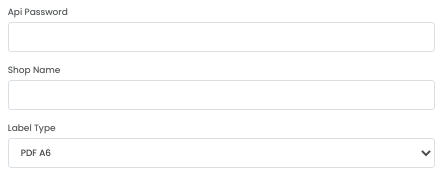
To establish the connection, you will need to request the API password from your Packeta contact person.
2. Connection steps
Then add it to Carriers > clicking on the Packeta Logo.
Then add your Shop Name and select the Label Type:
PDF A6
ZPL
You can locate the Shop Name in the Clients section under the column: Indication https://client.packeta.com/en/senders/
If you wish, you can also add a Custom Label to differentiate the connection from others.
The connection with Packeta is available in the following countries:
-
HU 🇭🇺
-
RO 🇷🇴
-
PL 🇵🇱
-
CZ🇨🇿
-
SK🇸🇰
-
DE 🇩🇪
-
AT 🇦🇹
-
IT 🇮🇹
-
BG 🇧🇬
-
FR 🇫🇷
-
NL 🇳🇱
-
ES 🇪🇸
-
HR 🇭🇺
-
PT 🇵🇹
-
SE 🇸🇪
-
FI 🇫🇮
-
BE 🇧🇪
-
LU 🇱🇺
-
SI 🇸🇮
-
DK 🇩🇰
-
EE 🇪🇪
-
LV 🇱🇻
-
LT 🇱🇹
-
GR 🇬🇷
For shipments to Slovakia, the cash on delivery value will be automatically rounded to the nearest 5 cents.
3. Errori & Risoluzioni
Error on eshop_id: Order nr. : Sender is not given. Please choose a sender
If this error occurs during shipment, please check the Shop Name (Eshop for Packeta) on the Carriers > Edit page.
The attribute Eshop is in the Client section, under the column named: Indication
https://client.packeta.com/en/senders/
Error on user_id: Order nr. XXXXXXXXX: The client account is not approved for posting parcels
This means that the client account has not yet been approved for posting parcels. You should contact the sales department at sales@packeta.hu, they will help you with the account approval.