How to connect ShippyPro to Google Sheets via Zapier
Discover how to connect ShippyPro to Google Sheets via Zapier and find some automated workflows examples
Zapier is a software that allows you to connect different apps and avoid repetitive tasks thanks to automated workflows that you can set up and turn on without a single line of code.
Why spend hours filling your spreadsheets manually when you can automate this process in just a few clicks? Connecting ShippyPro and Google Sheets through Zapier will let you send information between the two apps, saving many hours per week.
For example, do you keep track of your orders on Google Sheets? For each new ShippyPro order, a new row can now be automatically filled onto a spreadsheet ⚡

Are you ready? Let’s see all the easy steps to connect ShippyPro to Google Sheets via Zapier! 🔎
1. Firstly, you need to sign up for a free Zapier account and connect ShippyPro to Zapier. All the steps are fully described in this guide 🔗
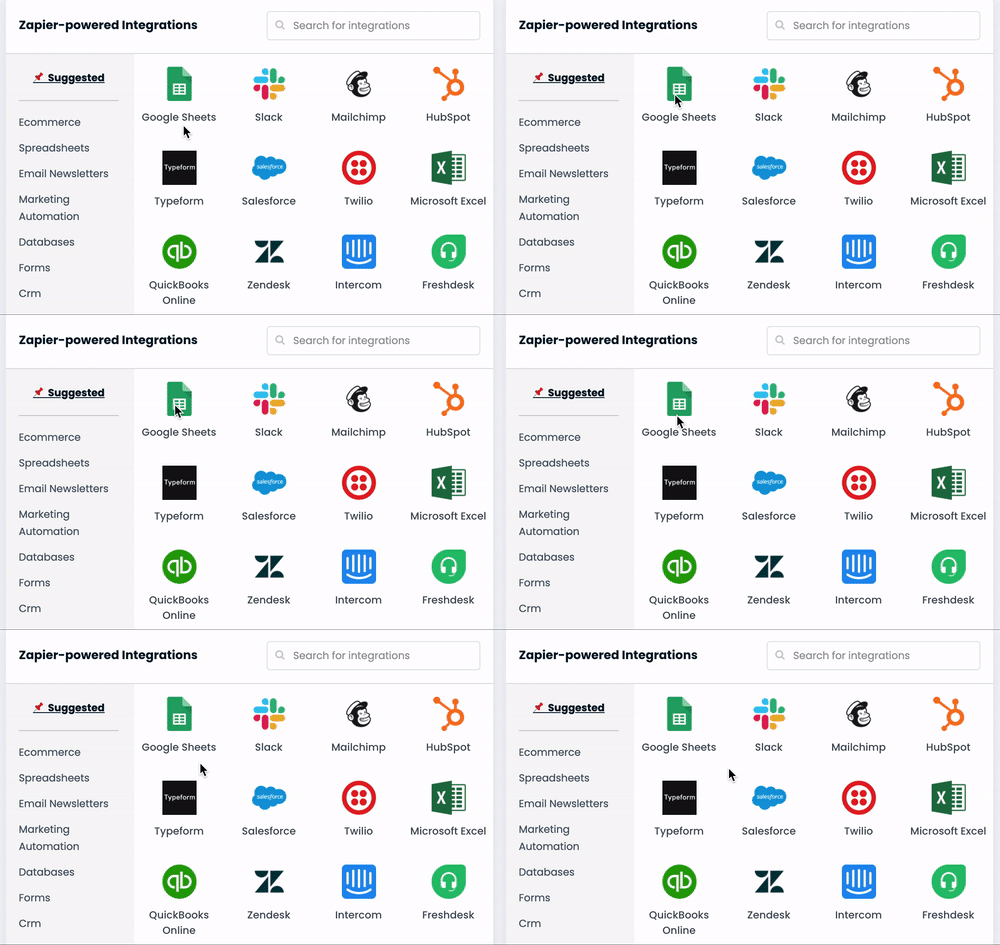
2. Then, select Google Sheets app inside ShippyPro platform from Integrations > Plugin. It will appear among both “Google” and “Spreadsheet” sections.

3. Dalla ShippyPro + Google Sheets Integrations page, you can:
Take a look at some common ways to connect ShippyPro and Google Sheets, such as:
-
Create Google Sheets spreadsheet rows for new ShippyPro orders
-
Create Google Sheets spreadsheet rows for new ShippyPro Labels
-
Get rates in ShippyPro for new Google Sheets spreadsheet rows
-
Create Google Sheets rows for new ShippyPro tracking updates
But you can also start creating your automated workflow by choosing your “triggers” and “actions” from this complete list:

💡 What are “trigger” and “action” in Zapier? How do the Zaps (automated workflows) work? Learn more in our general guide.
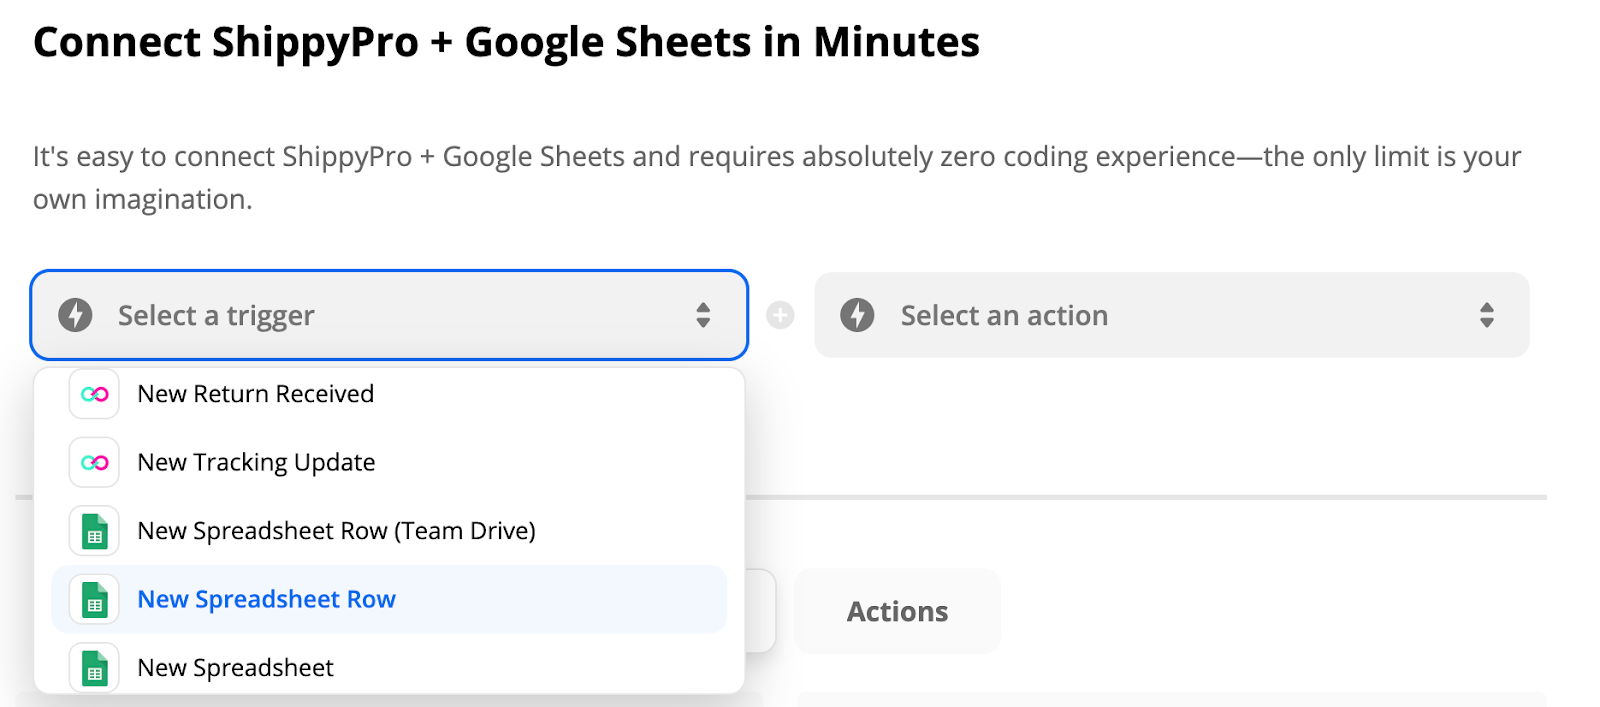
Choose a trigger of the first app that will start the Zap. If the automated workflows starts from ShippyPro, you can choose between these triggers:
-
New Label Generated
-
New Order Imported
- New Return Received
-
New Tracking Update
Choose one action that will results in the other app. To set up the trigger, in this phase you also have to select the specific information that you want to move from one app to another. Below you can find some of the Google Sheets common actions:
-
Create new spreadsheet Columns
-
Create new spreadsheet rows
- Create a new spreadsheet or worksheet (or duplicate existing ones)
-
Update or delete spreadsheet rows
-
Find matched spreadsheet rows by a column and value
Tip: you can also do the other way around, starting from a Google Sheet trigger and choosing a ShippyPro action as a result. For example, each time that a new row is added to a spreadsheet (trigger) you can calculate shipping rates in ShippyPro (action).
4. Once you’ve chosen a trigger and an action, connect ShippyPro and Google Sheets to proceed.
5. Then, you have to select which Drive you want to use and which spreadsheet will be involved in the automation, or create a new one.
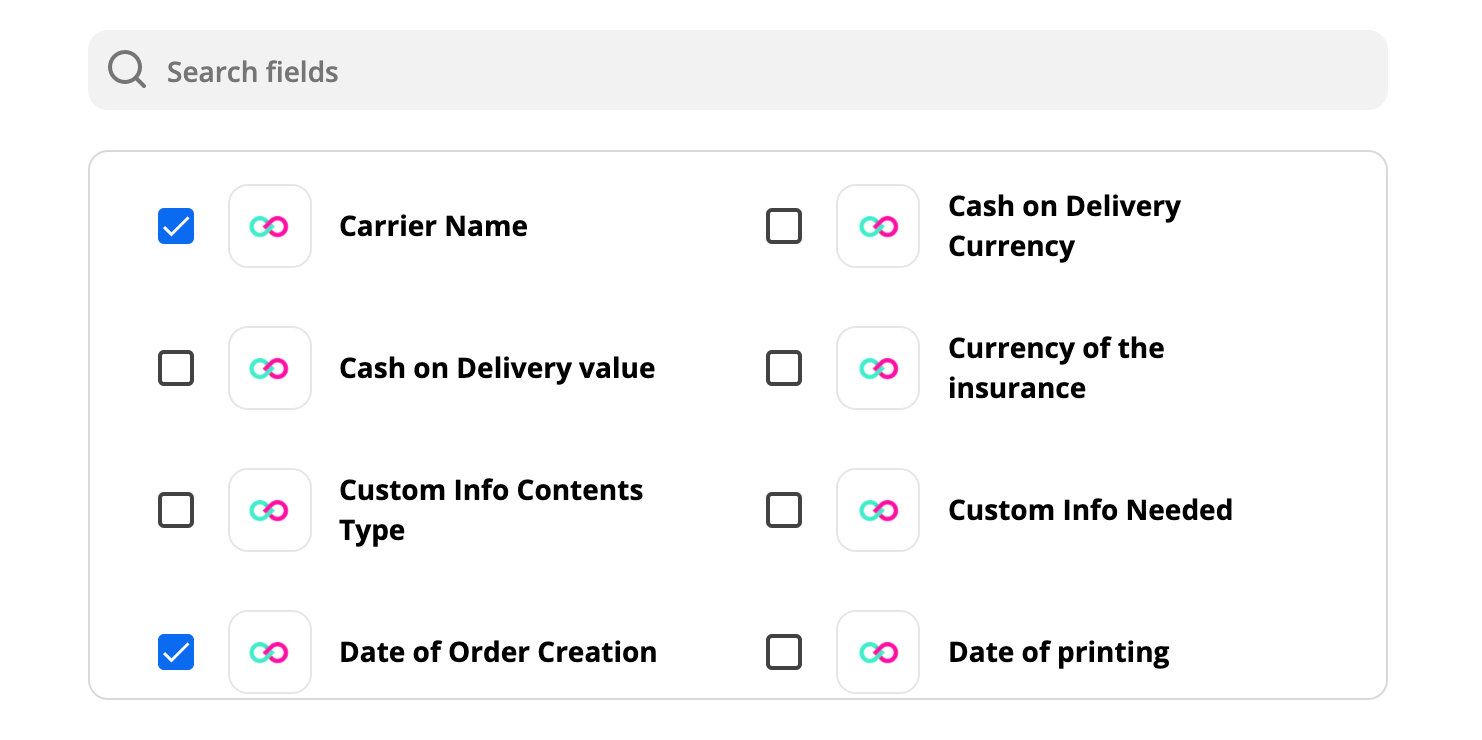
6. Customize the workflow by selecting the fields you want to import from ShippyPro, such as “Carrier Name” or “Date of Order Creation”:

7. Later, you can test the workflow to see if everything is working properly.
8. It’s time to turn on your Zap and let the automation work for you 🙌
Here's how your spreadsheet will look like if you choose the automation that fills out new rows for each new ShippyPro order:

By integrating ShippyPro to Zapier you can express your creativity by setting up all the Zaps that you want. You just need to select the apps and choose what information to move from one to another.
Get inspired and easily create your Zaps connecting ShippyPro to Google Sheets via Zapier now! Don’t hesitate to contact us if you have any questions or doubts about setting up your Zaps.


