Let's see how you can connect Geodis to ShippyPro in just few steps.

Summary
1. Connection steps
To connect Geodis you need the requested info from Carriers > Geodis Logo to your Sales Person in Geodis.
If you can't figure how to do it try to take a look at the following example:
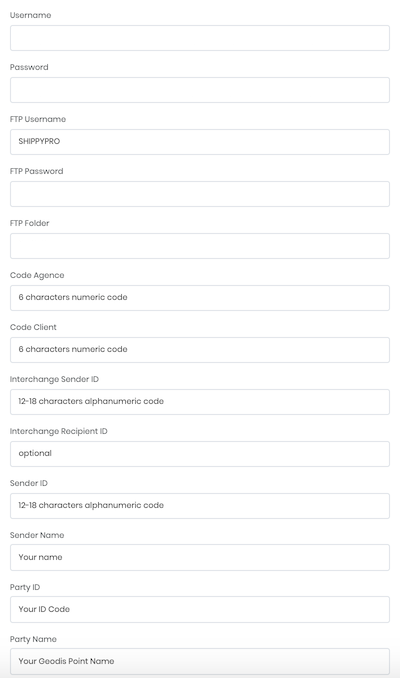
In order to enable Tracking you should also add Zoom Username and API Key, usually username is an abbreviation, to know how to retrieve these two data, check page 9 and 10 of this page.
Once filled the fields and confirmed, you need to create a Test Label, so disable Test Mode from Carriers > Geodis > Edit and create it, then proceed with the End of the Day from Shipping Labels > Select the order > Carriers > Geodis End of the day.
Then send the label generated directly to Geodis to let them enable Production settings and be ready to start shipping!
2. Supported services
- Standard > Domestic
- Express > Domestic
- NTX > Domestic
- Mei > Europe
- P30 > Domestic
- XPACK > Domestic
- CXI > Domestic
- FLY EXPRESS > International
3. Additional service
Besides your credentials, you'll also see some further options, let's take a look at them!
Label Type gives you the possibility you to choose the correct label format for your printer.
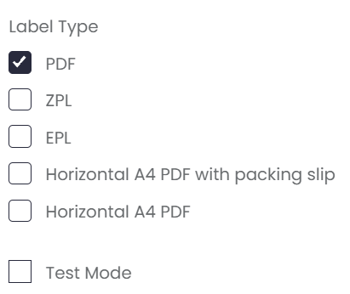
Test Mode lets you make some test shipments.
The "Test Mode" option should be flagged only if you have test credentials, not production credentials!
If you want, you can also enter a Custom Label to recognize the connection among all the others.
4. Troubleshooting & Errors
Internal Server Error
Check if your GEODIS connection is in Test Mode.
📌 in case of tracking issues, we suggest switching to the new Geodis v2 connector.