This legacy version will soon be discontinued. To activate the new version, click the toggle in the top left:
-2.png?width=170&height=94&name=image%20(4)-2.png)
If you are already using the new interface, we invite you to check this article.
Summary
1. Easy Return
ShippyPro, besides helping you with shipments creation, allows you to create Return Labels for your shipments.
Did you know that? ShippyPro also supply you with an advanced Returns Management Software to easily manage all your returns requests directly from one dashboard and create a customized Return Portal.
Want to know more about it? Click here:
If you're not interesting in upgrading your plan with Easy Return, here's how you can create a Shipping Labels manually in a few steps 🔍
2. Manual return shipment
Click on Label Creator > To Ship and then on Create a Manual Shipment on the top right corner of the page.
Select the order
You can then search for the order that has to be returned either by customer's surname or name or order ID.
Click on the blue icon
After finding the order and its data, click on the blue arrow ⬅️ that appears next to the search bar. Be sure that it turns yellow 🟡
As a result, the recipient will be automatically inverted into sender. Click on Next Step to continue.
-3.gif?width=436&height=318&name=ezgif_com-video-to-gif+(4)-3.gif)
Parcels Dimensions
The parcels dimensions will be automatically filled with the data. However, you can still edit them and add parcels.
Remember to fill the Description and the Value if the shipment is international.
Click on Next Step and proceed with the selection of carriers rates. Click then on Send and the label will be ready to be printed inside the section Shipping Labels in a few minutes.
3. FAQ
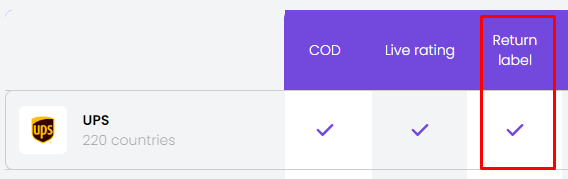
How do I know if my carrier supports returns?
You can find out from our Carrier Map.
Or contact your carrier sales representative directly.
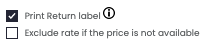
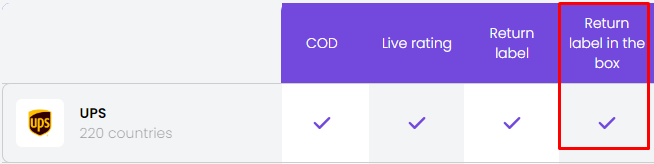
Can I print the return label along with the outbound shipment?
Yes, if your courier supports the return label in the Box. Check our Carrier Map or contact your sales representative directly.
In this case there will be the option to activate in the Carrier section, which will look as in the following example: