
Learn how to turn your Tracking Page into a powerful Marketing tool
With ShippyPro you can easily customize the Tracking Page that is automatically sent to your customers by email.
So you'll be able to keep your customers engaged and improve your customer retention!
You have the possibility to add your own banner, your customized newsletter subscription and link your social networks.
Learn how to turn your Tracking Page into a powerful Sales Page in just a few clicks!
Summary:
1. Configuration process
You can start customizing your Tracking Page by clicking on Track & Trace > Tracking Page.
ShippyPro provides already translated Tracking Pages in 8 languages that will be automatically assigned according to the Country of destination. 🌎
You can also customize your Tracking Page per Language, Marketplace and Carrier:
-1.gif?width=472&height=314&name=ezgif_com-video-to-gif%2B(64)-1.gif)
If you remove the tick from Marketplace and Carrier, you'll customize the Template for every marketplace and every carrier.if you remove the tick from Marketplace and Carrier, you'll customize the Template for every marketplace and every carrier.
You can set your own logo to customize your Tracking Page. Please note that you can upload only .jpg and .png file with max dimension 250 x 250 px.
In order for the image/logo to be uploaded and displayed correctly, you should upload it in rectangular, NOT square format.
-1.jpg?width=330&name=ezgif_com-resize%2B(4)-1.jpg)
2. How to edit the content
On the right side of the page, you can edit the content of your Tracking Page as well add your marketing tools!
Every change you make on the editor will be instantly displayed on Preview on the the left side.
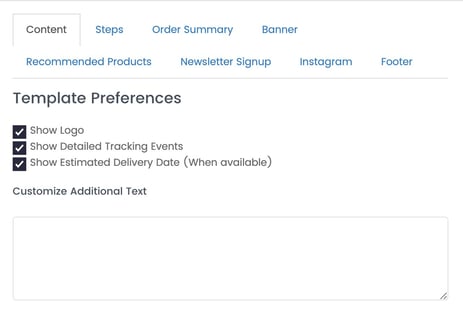
Content
From this section, you can decide whether to show your logo, detailed Tracking Events and the Estimated Delivery Date.
You can also add some additional text that will appear on the footer of your tracking page.
The estimated delivery date is calculated based on the min and max delivery times indicated in the section Carriers > Edit Prices.
We usually show the max. delivery time on the tracking page.

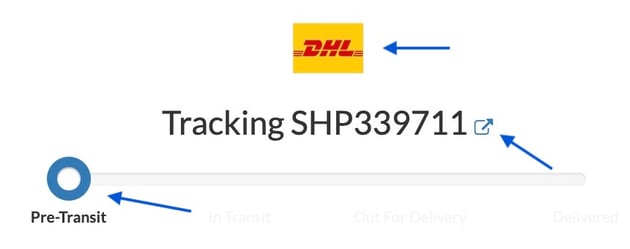
Steps
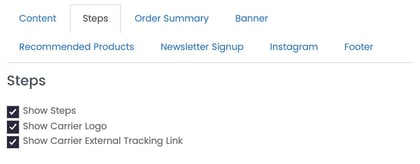
From Steps, you can decide whether to show:
- Tracking Steps.
- Carrier Logo
- Carrier External Tracking Link to redirect your customer to the carrier tracking page:
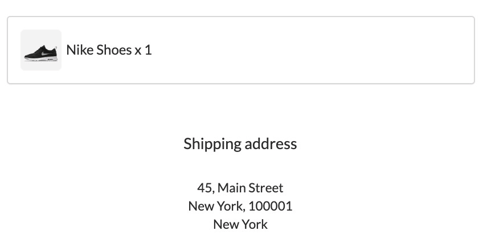
Order Summary
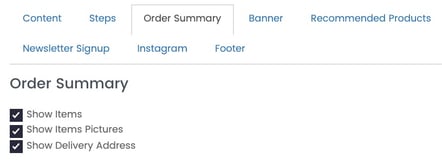
From order summary, you can decide whether to add:
- Items included in the shipment
- Relative Items Pictures
- Delivery Address.
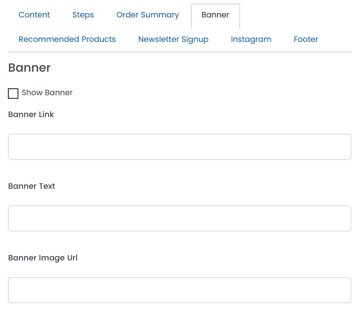
Banner
Here you can create and include a customized banner in three easy steps. Simply add the banner link, the text and the image address:
Recommended Products
With ShippyPro Tracking Page, you can recommend your Best Selling Products with a discount to see your customers coming back!
Add a customized block with your recommended products!
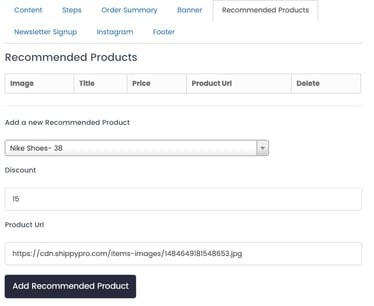
You can easily add your box with three simple steps. Choose your product from the list, choose the discount you'd like to apply and you product URL.
Here's how the box it will look like on your Tracking Page:
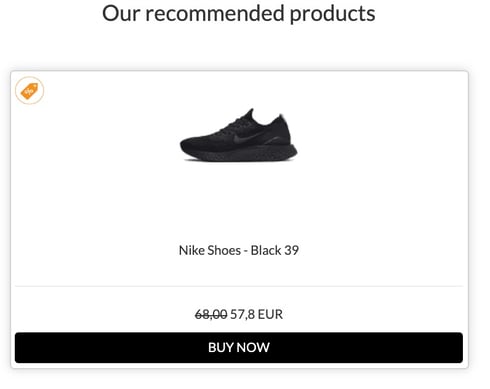
Note: We retrieve data from the last orders shipped, so the price displayed is always the last one entered for that particular product.
Since the details of the items to be selected are required, this functionality can only be used for orders from a Marketplace (no Manual Shipments or Excel orders) or for orders shipped via API if they contain product details (e.g. via PutOrder API).
Newsletter Signup
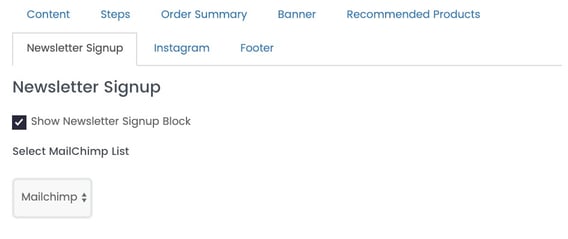
Your Tracking Page can turn into a new sales opportunity with ShippyPro Tracking Page. Connect your MailChimp account to add a newsletter signup block into your Tracking Page. Learn how to connect Mailchimp here: How "Plugin" works.
You simply have to select a MailChimp List where you'd like your clients' mails to be saved into.
Here's the Newsletter Subscription block that appears inside the Tracking Page your clients receive:

ShippyPro helps you increase your social networks Engagement. Add your latest Instagram posts to increase your Instagram Likes and Followers!
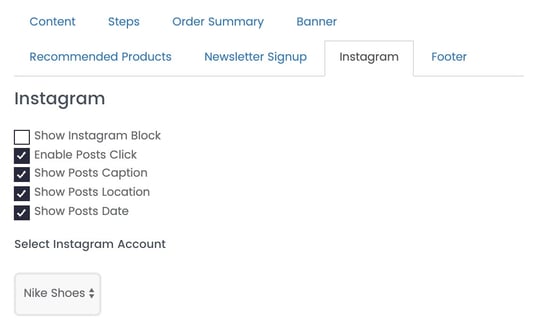
Tick the first box to show your Instagram Block inside your Tracking Page.
If you tick Enable Posts Clicks your customers will be redirected to your Instagram posts when they click on the image.

Footer
-1.gif?width=481&height=447&name=ezgif_com-video-to-gif%2B(66)-1.gif)
You can link your Social Networks inside the footer.
Try and connect your Facebook, Twitter, LinkedIn, Instagram, Google Plus or your Pinterest account.
You just need to paste your homepage url and some content if you'd like.
Here's how the footer will look like:

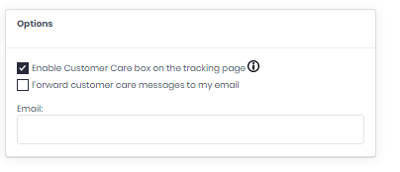
Assistance on Shipment
Trough Assistance on Shipment your Customers will be able to write you a message that will be directly forwarded to your Customer Care section on ShippyPro.
-4.png?width=210&name=image%2B(6)-4.png)
You can decide to Enable/Disable it or redirect messages to another email address from Track & Trace > Customer Care.
3. My Tracking Page
You can view how your clients see your Tracking Page by clicking on View Real Example. You can either view how your client see it from Desktop or Mobile.
The example you will see is taken from orders correctly completed (last completed order with a tracking code), you'll be redirected to a new browser page where you'll see a real example:
-2.gif?width=630&name=ezgif_com-video-to-gif%2B(67)-2.gif)
Note: the shipment can't be displayed through the Tracking Page if it has been created too recently since the Carrier may not have sent any tracking update yet.
In this case we suggest you to wait for Shipment Update to change from Unknown status and try again.
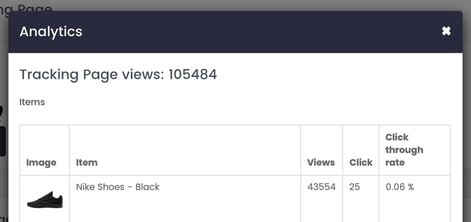
4. Analytics
With ShippyPro, you can also view some Analytics of your Tracking Page. Do your clients click on recommended products? And what is the most clicked product?
-1.gif?width=630&name=ezgif_com-video-to-gif%2B(77)-1.gif)
Take a look at your Tracking Page Engagement and see the total views, clicks and the Click Through Rate.
5. Embed your Tracking Page
ShippyPro also gives you the possibility to directly embed our Tracking Page on your own website, so that your customers will be able to consult every tracking update directly from there, as well as include a Custom Domain where to redirect your customers.
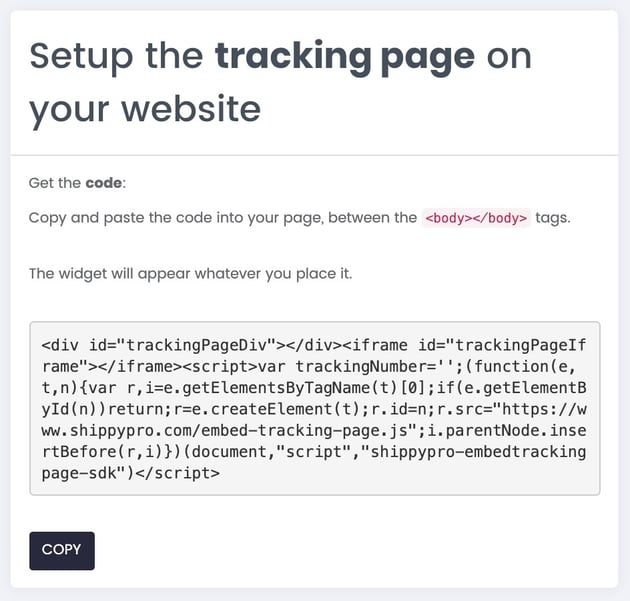
You can embed your Tracking Page directly on your website! Click on the button in the top right corner of the page.
-3.gif?width=630&name=ezgif_com-video-to-gif%2B(78)-3.gif)
You just need to copy and paste the code into your page, between the <body><⁄body> tags. The widget will appear whatever you place it.
Turn your Tracking Page into a powerful Sales Page in just a few clicks with ShippyPro!
6. Configure Custom Domain
First of all, click on Configure Custom Domain on Tracking Page.
Add in the menu that will pop up your Website Name as well as Custom Tracking Page Domain.
g.e. add yourstore and tracking.yourwebsite.com
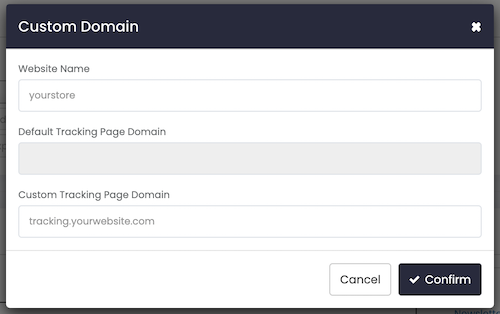
Click then on Confirm.
The Tracking Page will so be displayed on your Custom Domain so that you'll be able to consult it for yourself or let your customers take a look at it.
7. Troubleshooting & Errors
Are you facing some issues? Please visit this link:
Tracking Page FAQs & Errors