Let's see how you can connect Asendia to ShippyPro in just few steps.
Summary:
1. Connection steps
As a first thing, you need to access to Carriers > Asendia Logo and fulfill the fields shown following the indications below.
2. Supported services
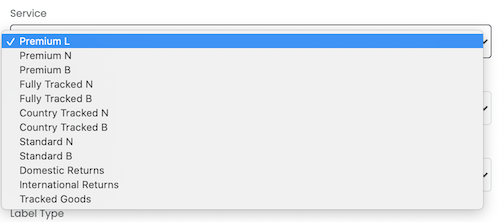
Choose your service between the ones available:
-
-
Premium L
-
Premium N
-
Premium B
-
Fully Tracked N
-
Fully Tracked B
-
Standard N
-
Standard B
-
Domestic Returns
-
International Returns
-
Tracked Goods
-
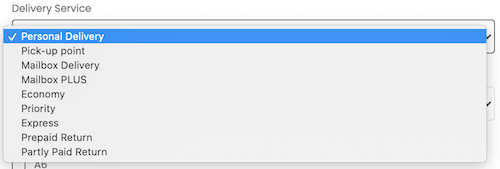
Delivery Service: select your Delivery service among the following ones:
-
-
Personal Delivery
-
Pick-up point
-
Mailbox Delivery
-
Mailbox PLUS
-
Economy
-
Priority
-
Express
-
Prepaid Return
-
Partly Paid Return
-
-
Select your Insurance Service or choose No insurance service if you don't have one.

3. Additional options
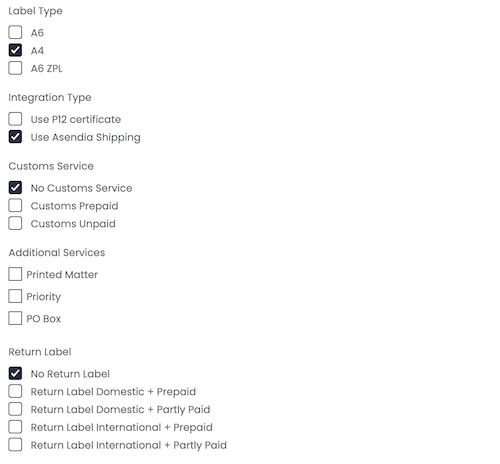
Select then the following preferences:
-
Label Type, choose the label format you prefer between:
-
A6
-
A4
-
A6 ZPL
-
-
Integration Type, choose between:
-
Use P12 Certificate
-
Use Asendia Shipping
-
-
Customs service, choose between:
-
No Customs Service
-
Custom Prepaid
-
Custom Unpaid
-
-
Additional services, choose between:
-
Printed Matter
-
Priority
-
PO Box
-
-
Return Label, choose between:
-
No return Label
-
Return Label Domestic + Prepaid
-
Return Label Domestic + Partly Paid
-
Return Label International + Prepaid
-
Return Label International + Partly Paid
-
- Later on, enter these pieces of information:
Asendia Shipping Username - From your Asendia Shipping account*
Asendia Shipping Password - From your Asendia Shipping account
Asendia Shipping Account Number - Is your CRM ID
Asendia Tracking Username - Use your Asendia tracking Username
Asendia Tracking Password - Use your Asendia tracking Password
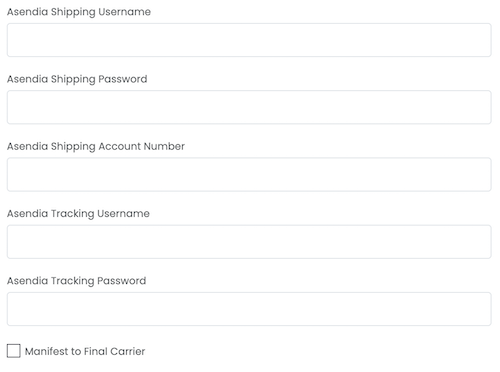
- Tick over Manifest to final Carrier if you want to create the manifest directly for the final Carrier and not Asendia manifest.
- If you want, you can also enter a Custom Label to recognize the connection among all the others.