Connecting ShippyPro to Twilio via Zapier allows you to easily create automated workflows and move information between the two Apps.
This way you can avoid repetitive tasks and get useful messages to enhance your shipping process. All of this without writing a single line of code.
Are you ready to save time and be always informed thanks to automated alerts?
Let’s see how to connect ShippyPro to Twilio in just a few steps:
1. First, register for free on Zapier and then connect ShippyPro to Zapier following the steps in this guide 🔗
2. Later, select Twilio app inside the ShippyPro platform from the Integrations > Plugin page.
3. From the ShippyPro + Twilio Integrations page, you can:
Choose among some popular ways to connect ShippyPro and Twilio, such as:
-
Send text messages in Twilio for new ShippyPro orders

-
Send new ShippyPro tracking updates via Twilio

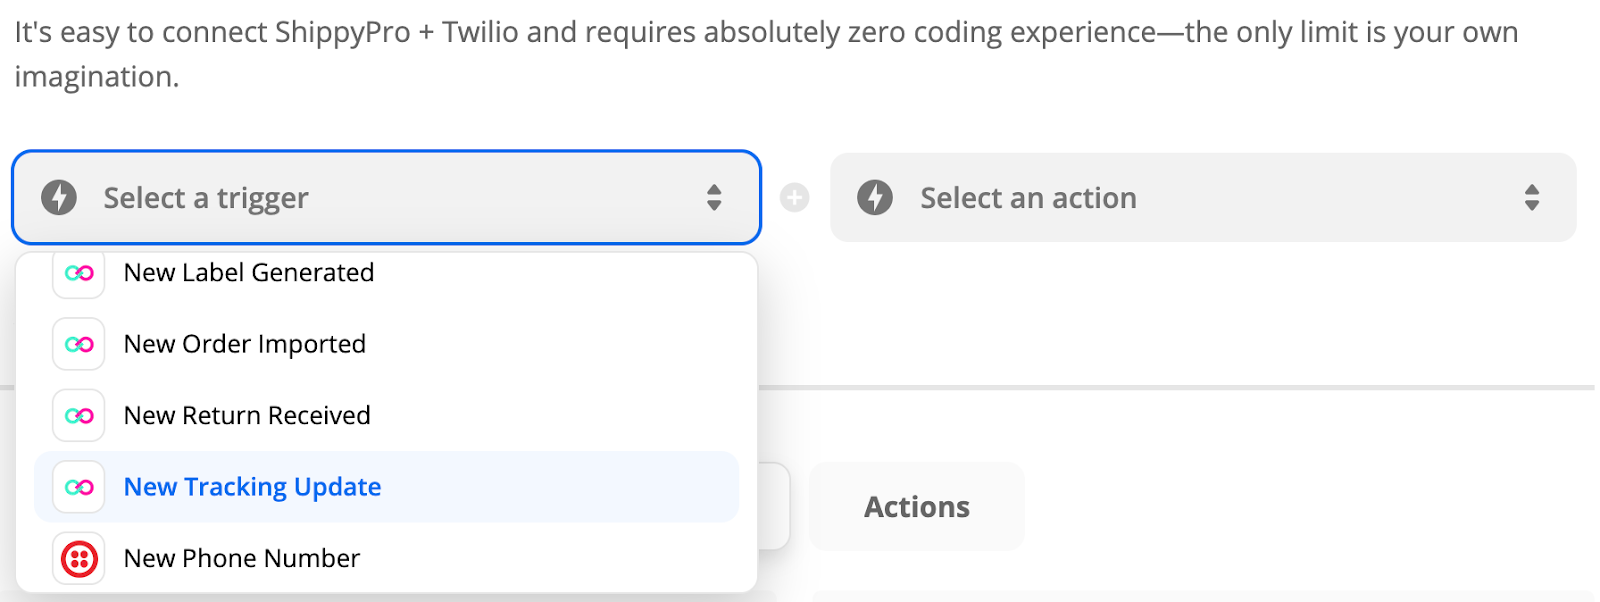
Create your customized workflows choosing specific “triggers” and “actions” from the list:
What do “trigger” and “action” mean, in Zapier? And how do the Zaps (automated workflows) work? Find everything you need to know here.
There are different triggers from which you can start your automation. Among ShippyPro triggers you can find these ones:
-
New Label generated
-
New Order imported
-
New Return received
-
New Tracking update
Now it’s time to choose an action to be performed in Twilio, such as:
-
Send an SMS
-
Call a phone
Tip: you can also start your workflow with a Twilio trigger and select a ShippyPro action to be performed.
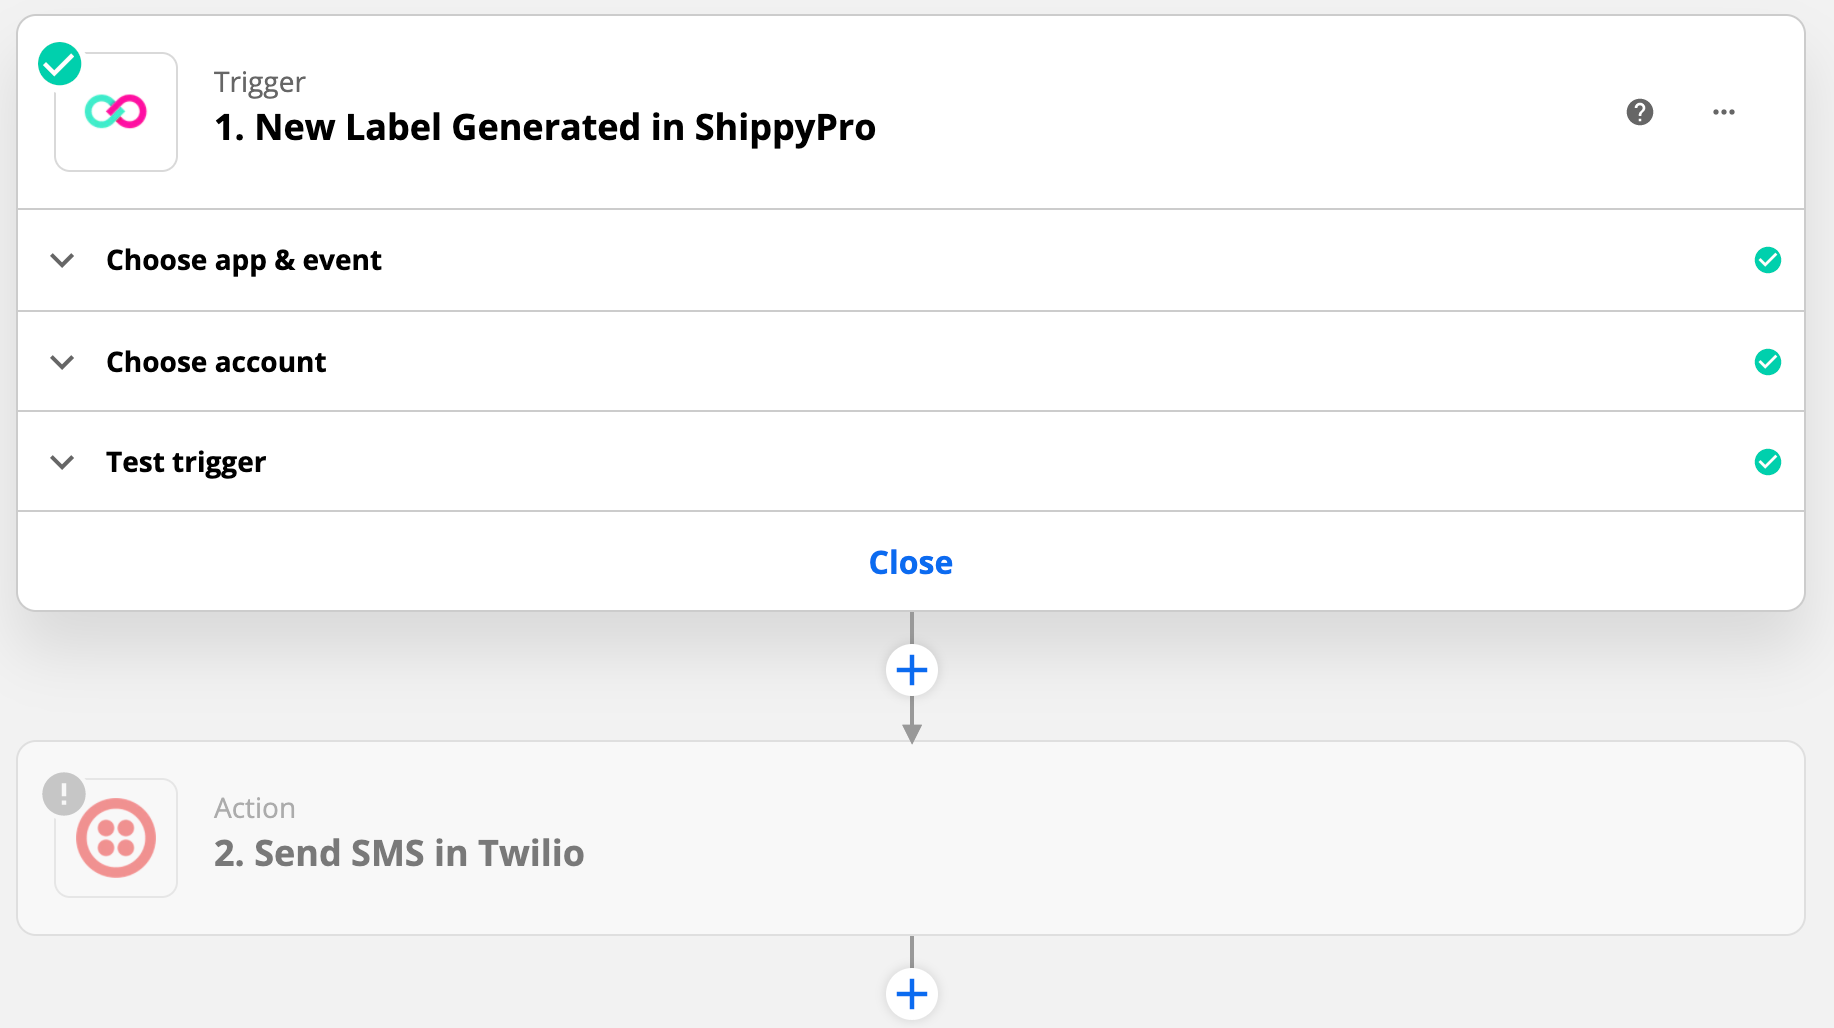
4. After choosing a trigger and an action, you will be asked to log in to ShippyPro. To do it, insert the Zapier API Key that you can retrieve from the Integration page > Plugin > Zapier. Then you'll need to test the trigger to confirm that the right account is connected and everything is set up correctly.
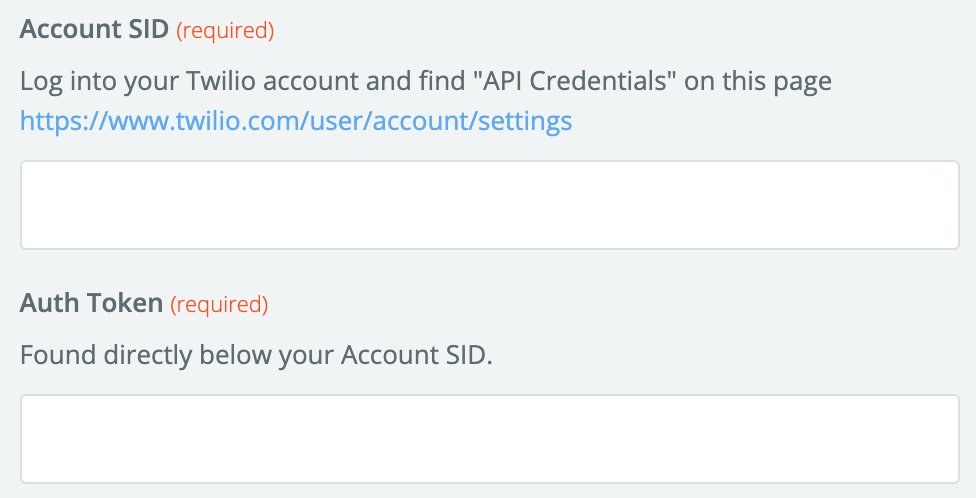
5. Then, sign in to Twilio or create a new Twilio account, in case you don't have one. To connect Twilio to Zapier, you need to allow Zapier access to your Twilio account by entering your Account SID and Auth Token, which are available from this page.
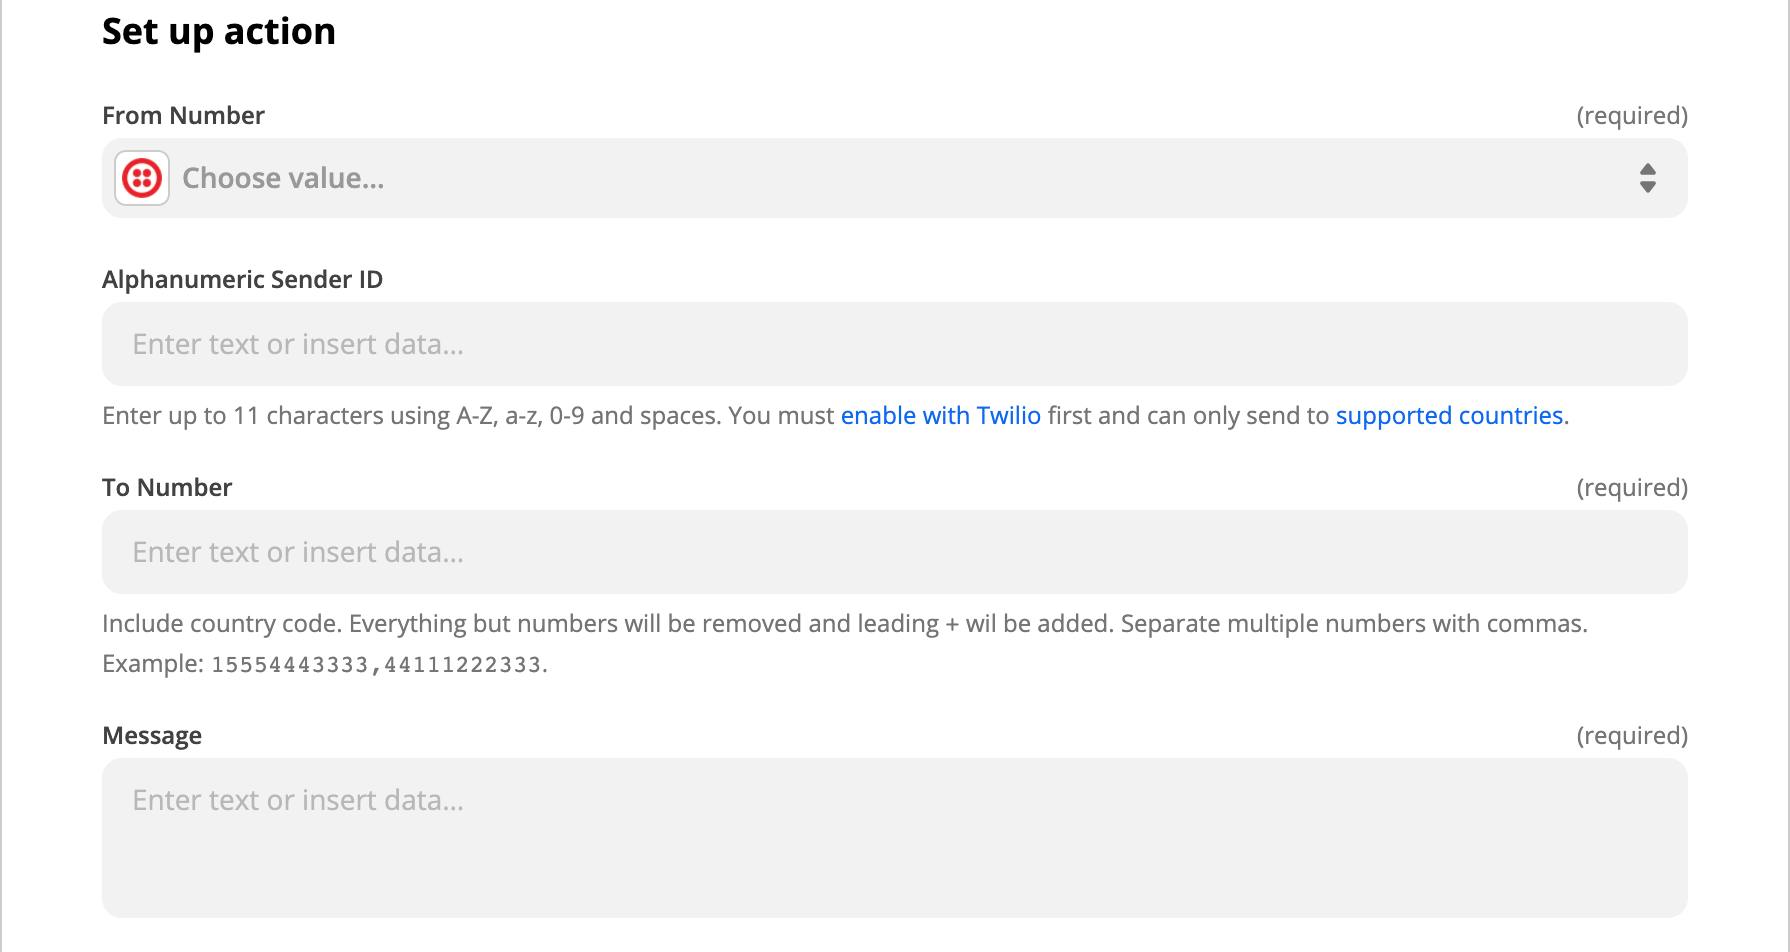
6. Later on, set up your action by entering detailed information about the sender (Number, Alphanumerical Sender ID, Media URL to include) and the receivers' numbers that need to be separated with commas. You can also write down your text message!
7. Test the workflow to be sure that your automation is working correctly.
8. Now everything is ready: it’s time to turn on your Zap and let the automation work for you 🙌
Getting SMS messages or phone calls via Twilio for each ShippyPro new Order, Shipping Label or Return is now easy, thanks to Zapier! 📲
By integrating ShippyPro to Zapier you can express your creativity with as many automatic workflows as you can imagine! Discover hundreds of possibilities by integrating Zapier into your ShippyPro account, and contact us if you need any help.