
Let's see how you can connect Canada Post to ShippyPro in just a few steps.
-Apr-15-2024-09-10-08-1524-AM.gif)
Summary:
1. Before you start
To connect your contract to ShippyPro access Canada Post website to register your new or existing Canada Post account, there you'll be able to generate the API credentials.
2. Connection steps
Once done that, you'll add from Carriers > Click on Canada Post Logo.
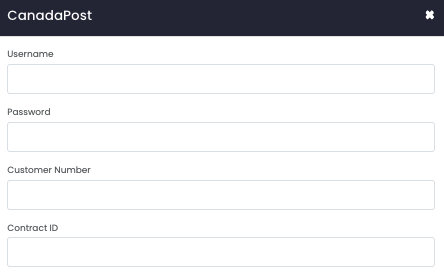
Here the fields that you'll find inside the connection menu:
-
Username/password;
-
Customer number - This will be directly supplied by your CanadaPost Sales Person;
-
Contract ID - This field is not mandatory and will directly assign your shipments to your Contract ID
Here's Label formats supported:
-
PDF (8.5 x 11 inches)
-
ZPL (only for users filling Contract ID field)
If you want, you can also enter a Custom Label to recognize the connection among all the others.
3. Supported services
The Service Types you can choose from:
-
Xpresspost
-
Regular Parcel
-
Expedited Parcel
-
Priority
-
Xpresspost USA
-
Expedited Parcel USA
-
Priority Worldwide Parcel USA
-
Xpresspost International
-
International Parcel Air
-
International Parcel Surface
4. Additional options
Enable Test Mode if you'd like to use your Test Credentials.
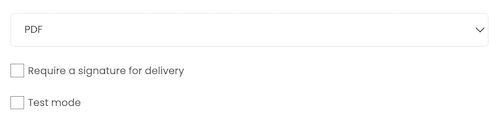
Click on Require a signature for delivery to add this extra step.
Non delivery option: select one of these options in case your order can't be delivered:
- Return at Sender’s Expense
- Return to Sender
- Abandon
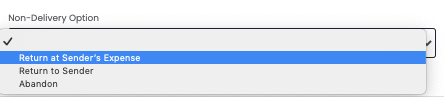
This option is mandatory for your international shipments.