
Let's see how you can connect Sagawa to ShippyPro in just few steps.
-Apr-15-2024-09-40-11-7142-AM.gif)
Summary:
1. Before you start
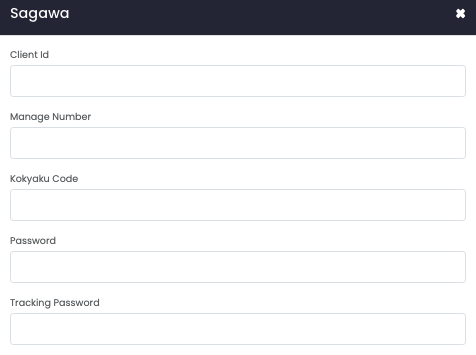
In order to connect it you need to ask your Sagawa Sales Person the credentials you can see from Carriers > click on Sagawa Logo:
Client ID > It's your Customer ID
Manage Number > It's the unique number you assigned by yourself
Kakyaku Code > It's your Customer Code
Password > It's your Sagawa Login Password
Tracking Password > It's your Requestor ID
2. Connection steps
Subsequently, enter the requested information into the designated fields found under Carriers > Select Sagawa Logo.
Select then your Product between:
-
Express
-
Air Express
And your Label Type:
-
A501 - A5 size
-
A401 - A4 size (with delivery note)
-
L01 - Vertical label (4 types of care marks)
-
L02 - Vertical label (without care mark)
The Test Mode option should be flagged only if you have test credentials, not production credentials. The test mode is to make some test shipments.
If you want, you can also enter a Custom Label to recognize the connection among all the others.
3. Additional options
You'll have some Carrier Options available for your connection:
-
daibikitax: Cod Taxes. Required when using cod. JPY currency.
-
shiteidate: Scheduled date delivery. Format yyyy-mm-dd
-
shiteitime: Scheduled time delivery. Refers to the table below
You can fill the shiteitime Carrier Option with one of the key from the list below:
-
"01" => "AM",
-
"12" => "12:00 - 14:00",
-
"14" => "14:00 - 16:00",
-
"16" => "16:00 - 18:00",
-
"18" => "18:00 - 20:00",
-
"19" => "19:00 - 21:00",
-
"04" => "18:00 - 21:00",